Einleitung

  1. lIiDIq1SKLM41iV1
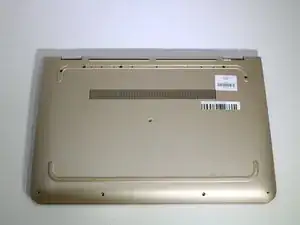
    • Power off device.

    • Flip the laptop over.

    • Working on your device while its powered on may cause damage to your device.

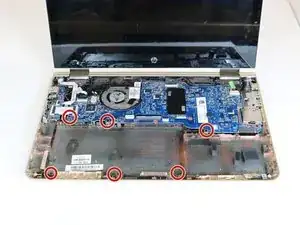
    Missing step: remove the screws on the bottom. This photo just shows the screws already removed.

    Aidan Gibson -

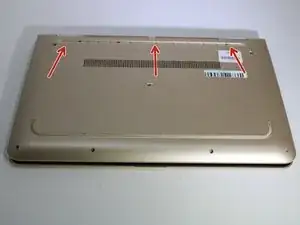
  2. hENg6UKwEl6v4kRf
    • Remove rubber foot closest to computer hinge with a Metal Spudger.

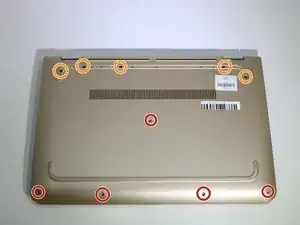
  3. OFPFJjArSSXSCAtE
    • Remove all screws from base using a Phillips head 00 screwdriver.

    • 5 Phillip 2.4 x 5.7 mm screws.

    • 5 Phillips 2.8 x 5.0 mm screws.

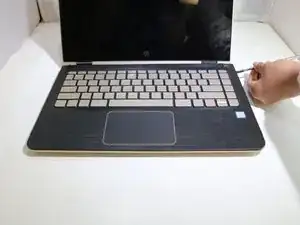
  4. JBORbXNNFnSQOrQ3
    JBORbXNNFnSQOrQ3
    omnfgAHbNm2VuIuV
    Ltu1XyxhvMLOegeP
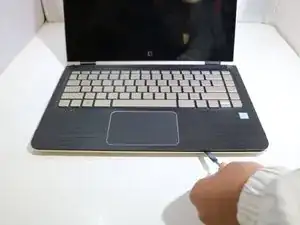
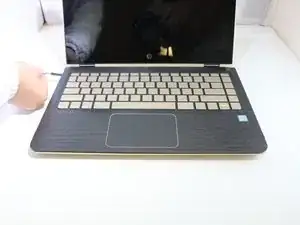
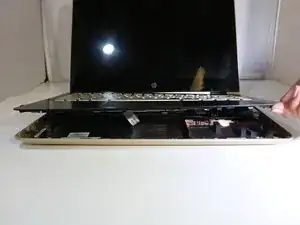
    • Open computer and pry open keyboard panel using the Metal Spudger. Apply little pressure then increase until keyboard pops away from motherboard.

    • Be careful not to pull or disconnect ribbon cables first.

  5. 2XDIbqmckWaMHrqn
    2XDIbqmckWaMHrqn
    OjxwxHQJnShgo2S6
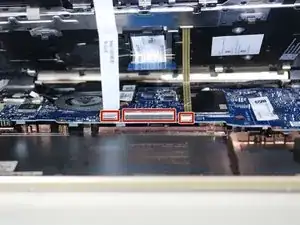
    • Gently lift the keyboard on the mouse pad side, but do not remove.

    • The keyboard is still connected by three ribbon cables.

    • Remove three connected ribbon wires connecting keyboard to frame by gently disconnecting them from the motherboard.

    How do you disconnect the three cables?

    andrea alley -

  6. YXntaOaH5GZtvdbZ
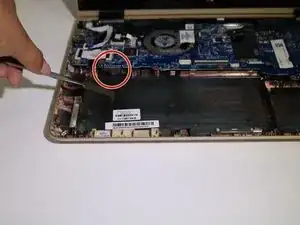
    • Use a Phillips #00 screwdriver to remove six screws around the battery.

    • 6 Phillips 2.0 x 4.6 mm screws.

  7. lpIMMsgvXNR1ORxD
    lpIMMsgvXNR1ORxD
    NqMmtHfSGmBXSfKd
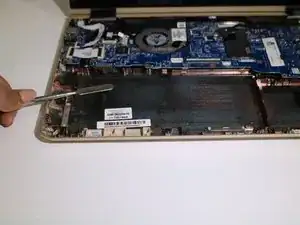
    • Gently lift the battery up and away from the casing.

    • Carefully remove the battery from its connecting port.

    There are 4 additional screws that should be removed that can be found under rubber coverings underneath, on the front side of the laptop

    Edwin Pagan -

    There are 4 additional screws that should be removed that can be found under rubber coverings underneath, on the front side of the laptop.

    Edwin Pagan -

    Dp you have the part number for the battery?

    T FHL -

  8. 6KRIMHn3kuXZGqNK
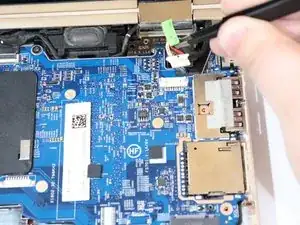
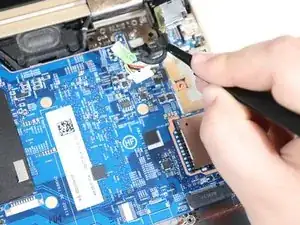
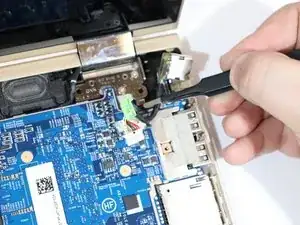
    • Pull the charge port connector out gently with the tweezers.

  9. ilnnsfk3VEsLOZrJ
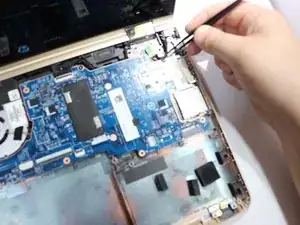
    • The charge port connector will be released from the motherboard.

  10. BQohfyBYKuZhfPhb
    • The charge port is now ready to be replaced with a new piece.

  11. iQnBpUfHVWJXhSfK
    • Once you have replaced the new charge port , insert into the motherboard

Abschluss

To reassemble your device, follow these instructions in reverse order.

Teresita Aragon

Mitglied seit: 17/01/19

566 Reputation

0 Kommentare