Einleitung

This repair guide was authored by the iFixit staff and hasn’t been endorsed by Google. Learn more about our repair guides here.

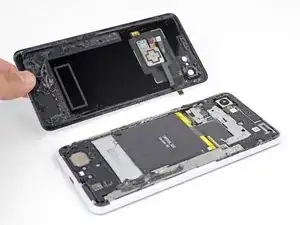
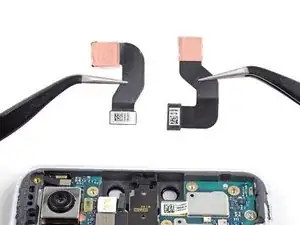
This guide shows how to remove and replace either or both front-facing selfie cameras for your Pixel 3 XL.

  1. wIigbvaXNQ1gCfa2
    wIigbvaXNQ1gCfa2
    4f3uBiUqnYIwtpHk
    5fCoAkkaQhAC1YlB
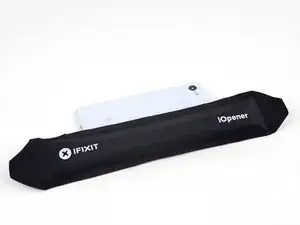
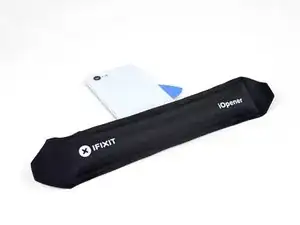
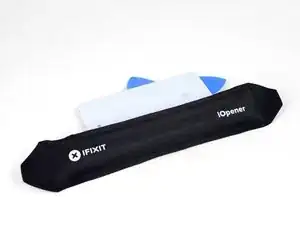
    • Heat an iOpener and apply it to the right edge of the back panel for a minute.

    • A hair dryer, heat gun, or hot plate may also be used, but be careful not to overheat the phone—the display and internal battery are both susceptible to heat damage.

    • While you wait, note the following areas on the back panel:

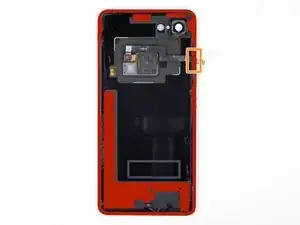
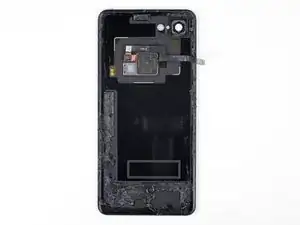
    • Strong adhesive—there are large patches of adhesive near the bottom of the phone.

    • Fingerprint sensor cable—be careful not to slice through the cable as you pry

  2. cZhYNQPJKIpeBdUV
    cZhYNQPJKIpeBdUV
    O3ZtiUsIEYd1LOi5
    PdMr62SQHqkykS2M
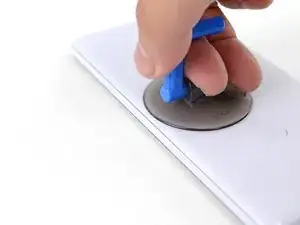
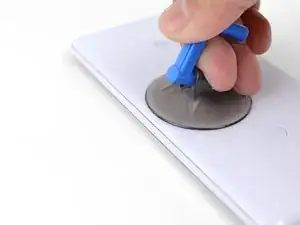
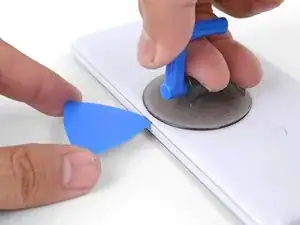
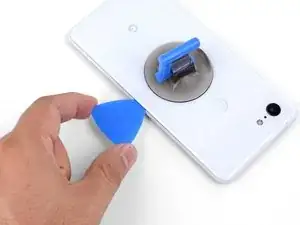
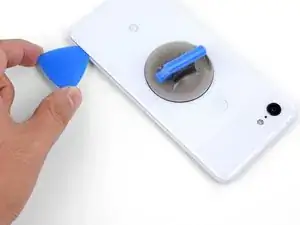
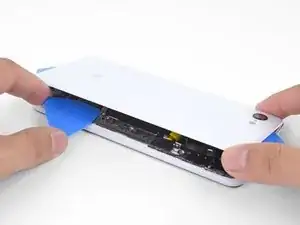
    • Apply a suction cup to the heated edge of the back panel, as close to the edge as possible.

    • Pull up on the suction cup with strong, steady force to create a gap.

    • Depending on the age of your phone, this may be difficult. If you are having trouble, apply heat to the edge and try again.

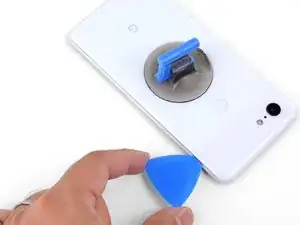
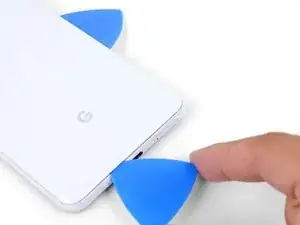
    • Insert the point of an opening pick into the gap.

    Suction cup doesn’t work on severely cracked glass.

    Jeffrey Kongthong -

    Step 1 - 2 took me about 50 minutes. Back and forth with heat and trying with suction cup. I could get my finger nail in but not the pick. Took two people, but we finally got a pick in. 2 year old phone.

    Andrew Messier -

    Took about 15 minutes and three total attempts. On the third attempt, I also used a thinner, metal, pick to widen the gap just enough for the plastic pick to fit (Though be careful as you can easily break it with a metal pick). The phone is three years old.

    Hotohori -

    Could not get in with the pick or in from the side. Targeted the bottom of the phone with the iOpener and managed to gently create some space for the pick with the opener tool.

    Daniel R. -
    I also struggled here for a while. I ended up working my way around the entire edge of the phone until I found one spot where I could pry up the back panel. I used a jimmy instead of the opening pics. I also used a hairdryer on lower heat instead of the iopener. 3 year old phone.

    Bryan Wethington -
  3. ecDEBpnvfOTcMLZ2
    ecDEBpnvfOTcMLZ2
    2uOnUFqafrCYXyEN
    p51ClEsXXIXPIR4Z
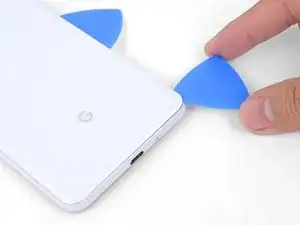
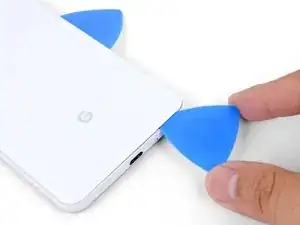
    • Slide the opening pick along the right edge to slice through the adhesive.

    • The adhesive gums up and becomes hard to slice once it cools. If that happens, re-apply heat to the edge to make slicing easier.

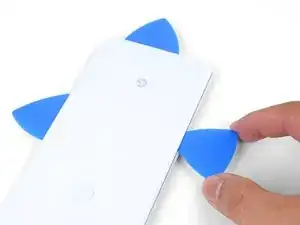
    • Once you have sliced through the edge, leave an opening pick in the seam to prevent the adhesive from re-sealing.

  4. KQZNiMIXEoEv3sQA
    • Apply a heated iOpener to the bottom of the back panel for a minute.

  5. gBLNTMRXodCAlNJR
    gBLNTMRXodCAlNJR
    Vbq4vFubRlSHJKRY
    4UK5LbKHwIXueBJp
    • Use an opening pick to slice around the bottom right corner and continue along the bottom edge of the phone.

    • Work slowly as you slice around the corner to prevent the panel from cracking. If the slicing becomes hard, re-apply heat.

    • Leave a pick in the edge to prevent the adhesive from re-sealing.

  6. K1DNALhsFYem6WuY
    K1DNALhsFYem6WuY
    2FCl2jg2ZVTGSvUm
    IXQXmHMoJGXm3PXr
    • Continue heating and slicing the remaining edges of the phone.

    • Be careful as you slice along the left edge of the phone. If your pick feels like it's stuck near the top, you may have snagged the fingerprint sensor. Retract the pick out of the seam slightly and try again.

    • Be sure to cut through the thick portions of adhesive near the bottom and right edge of the phone.

  7. USkM2UJmmdDVnTmv
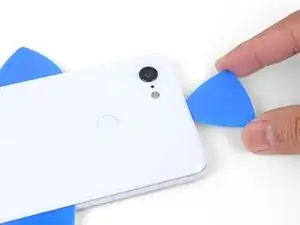
    • Gently pry up the right edge of the back panel.

    • Use an opening pick to slice through any remaining adhesive along the edges.

  8. 1nxmI4hs2Gymfag5
    1nxmI4hs2Gymfag5
    M4kcSI5plQnJtuT1
    MBJ2GPSSE3RnNtLF
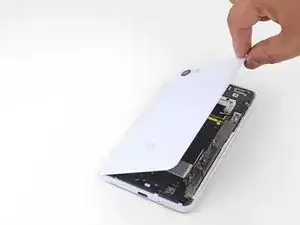
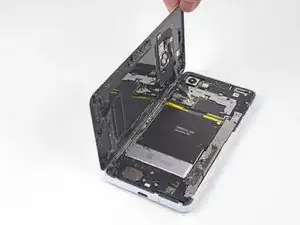
    • Swing the right edge of the back panel upwards and rest the flipped panel along the left side of the phone.

    • Be sure to maintain slack on the fingerprint sensor cable and prevent it from being pinched.

    • During reassembly, this is a good point to power on your phone and test all functions before sealing it up. Be sure to power your phone back down completely before you continue working.

    • During reassembly, follow this guide to install custom-cut adhesives for your back panel.

  9. 66BxIa114CvPBDXF
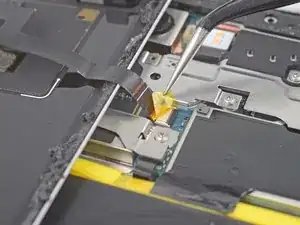
    • User tweezers to carefully peel up and remove the yellow tape over the fingerprint sensor connector.

  10. sIaa2bIVcTWtgVNZ
    sIaa2bIVcTWtgVNZ
    kljONWUpcx2eLE4p
    syrHkK1ndwxqPAh2
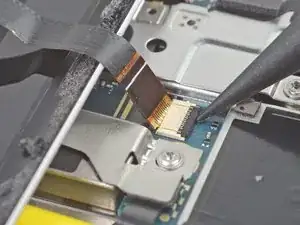
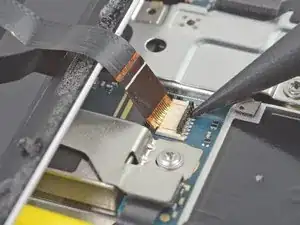
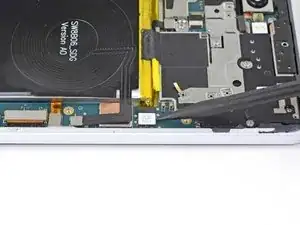
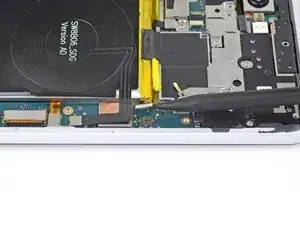
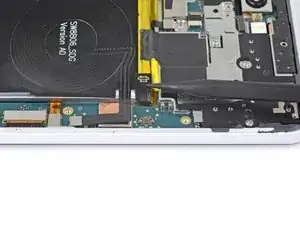
    • Use the point of a spudger to carefully flip up the black lock bar on the fingerprint sensor's ZIF socket.

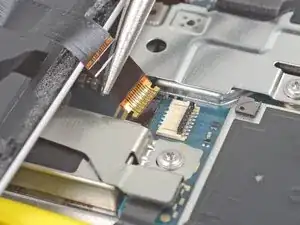
    • Grasp the cable's tab with your fingers or tweezers and gently walk the flex cable out of the socket.

    • To prevent shorting, be careful not to touch the metal contacts on the flex cable with your tweezers.

  11. KOLMNRDZQHXDXx2H
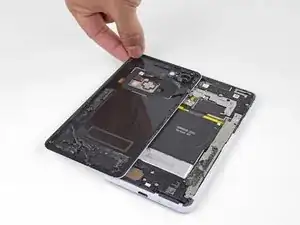
    • Remove the back panel.

  12. ZRoNSKDIlMf5W2Yh
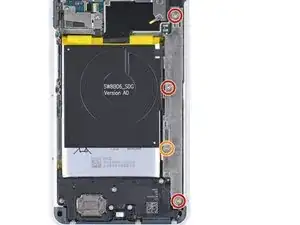
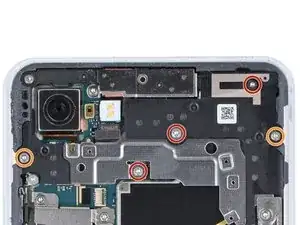
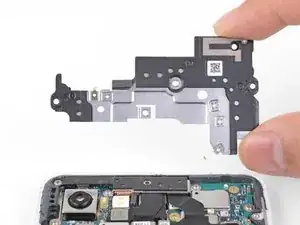
    • Remove the following four T3 screws securing the metal cover bracket:

    • Three 4 mm long screws

    • One 3 mm long screw

    • Throughout this repair, keep track of each screw and make sure it goes back exactly where it came from.

    Be careful when putting the screws back in that you do not over tighten. This will cause you to destroy some pixels on your screen.

    Brian Retterer -
  13. iMjRoXXfrrJG6TTj
    iMjRoXXfrrJG6TTj
    EbGvs3NuseOA34IT
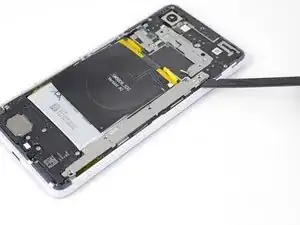
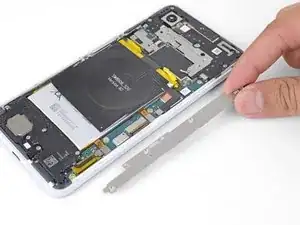
    • Insert the flat end of a spudger underneath the top right edge of the metal bracket and pry up to loosen it.

    • Remove the metal cover bracket.

  14. 2FT5FhK5JAiFdDI6
    2FT5FhK5JAiFdDI6
    Ll1pjbf2FDCAQSUM
    Q2TwemRwJ1F5JGut
    • Use the point of a spudger to pry up and disconnect the battery connector from its socket.

    • Do not use metal tools to to disconnect the battery, or you will risk shorting the battery.

    • Bend the battery cable such that the connector will not accidentally touch the socket.

  15. uIblmnHfCqI1UmDi
    • Remove the five T3 screws securing the motherboard shield:

    • Three 4 mm long screws

    • Two 3 mm long screws

  16. UJIvtcPDVyQ2ws6B
    • Remove the motherboard shield.

  17. VanRBMIYMGegICCg
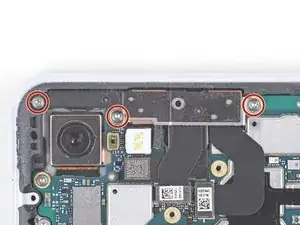
    • Remove the three 3 mm long T3 screws securing the front camera bracket.

    Important note! In this step the 3mm screws are highlighted in red, instead of orange like the rest of the steps, don’t make the same mistake I did and not catch that!

    David -

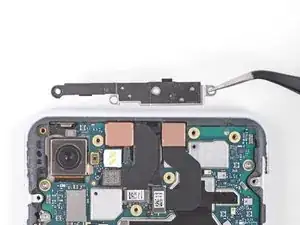
  18. FDRZvPAYWq13yvoH
    • Remove the front camera bracket.

  19. QxEwImNnJIXVCTOp
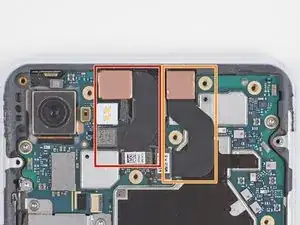
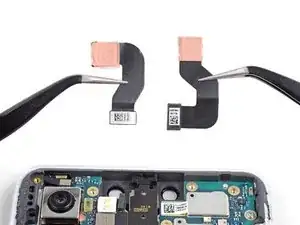
    • Determine which camera you wish to replace:

    • Normal angle camera

    • Wide angle camera

  20. qbmtvJ4FPpSFc5uf
    qbmtvJ4FPpSFc5uf
    XxkYLLCRNLd14a3H
    fo4Jie1XoDDdKs3r
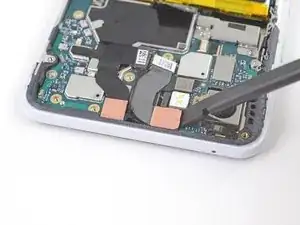
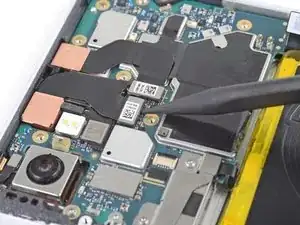
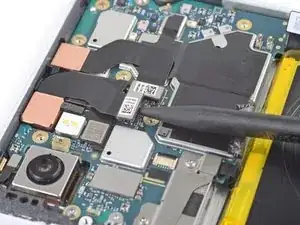
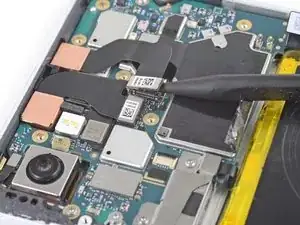
    • Use the point of a spudger to carefully pry up and disconnect the cameras from their motherboard sockets.

    • Be very careful not to dislodge the small surface-mounted components surrounding the sockets.

  21. EtCHJifOSAXKfV3F
    EtCHJifOSAXKfV3F
    Don4WbX4rQn4RkVQ
    ANO4aEfpqKkKyGpJ
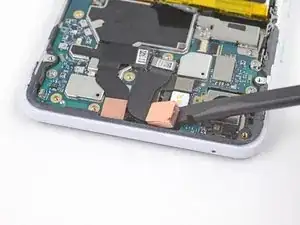
    • The cameras are lightly adhered in place.

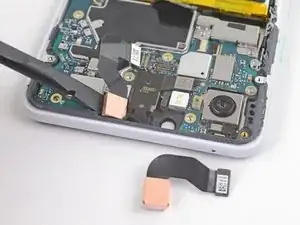
    • Use the flat end of a spudger to pry up and loosen the camera modules from their recess.

  22. UA6WnowKKMvlET3S
    • Remove the front-facing cameras.

Abschluss

To reassemble your device, follow these instructions in reverse order.

Repair didn't go as planned? Try some basic troubleshooting, or ask our Answers community for help.


Arthur Shi

Mitglied seit: 03/01/18

194403 Reputation

0 Kommentare