Einleitung

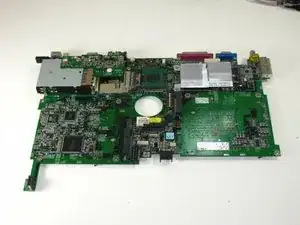
removal of the system board

  1. nikUTaQ6OUsGduvU
    • Flip the laptop over. Slide the battery release tab to the right.

  2. PQaeIZFWxDPeusWB
    • Lift the battery out.

  3. OHYJ2BBKqRLknmBh
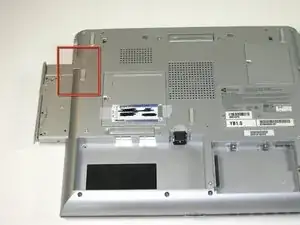
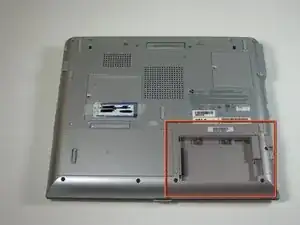
    • Slide release and push button to eject drive

    • Pull drive out.

    • When reinserting drives be sure to insert back into original slot in order to avoid interface conflicts.

  4. xER1Kwvf3kFeLJhX
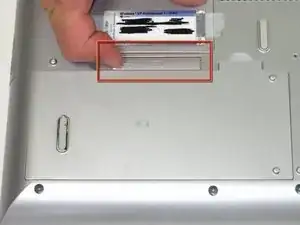
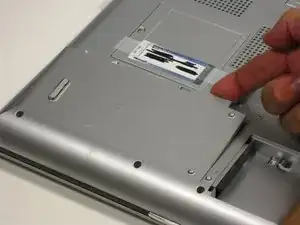
    • Unscrew 1 captive screw holding hard drive cover on.

    • slide hard drive to the right and remove.

    • for detailed pictures and info go to Gateway Support

  5. qqVCUwIrHyVK1UYN
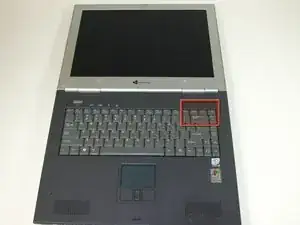
    • Insert the spudger between the "sysrq" and "ins" keys.

    • Gently lift the power button panel from the right to left.

  6. wksnqx2eTNHXSdrB
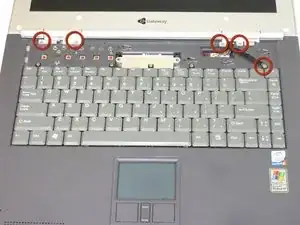
    • Remove 5 screws.

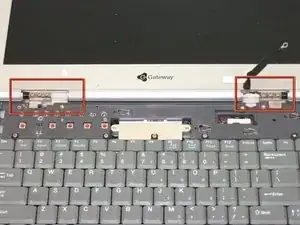
    • 4 screws holding LCD hinge covers in place and 1 screw for LCD grounding.

    • Remove hinge covers.

  7. vVieMiKAUxUFvNnF
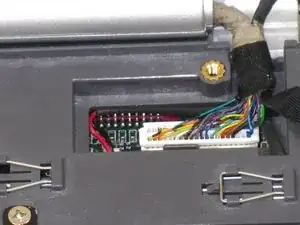
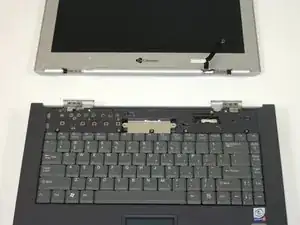
    • Gently unplug LCD from system board.

  8. vxMOwKSXVXrfBFq6
    • Remove 6 screws holding LCD to hinge.

  9. vILgjWVDNNSIkqsK
    • Pull LCD away from case.

  10. wH4JGHGfLa6p2lfy
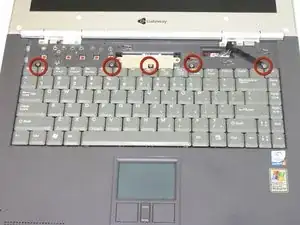
    • Remove the 5 screws holding the keyboard in place.

  11. ehCgaQVbUhqvuncT
    ehCgaQVbUhqvuncT
    NoIcm25K1bPPwJjQ
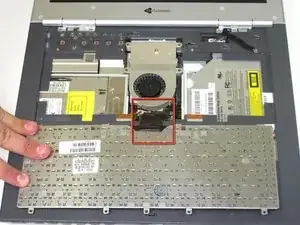
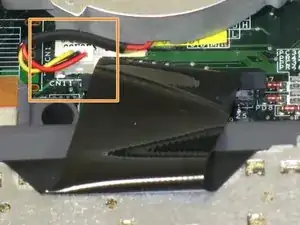
    • Potential for device damage: When lifting the keyboard out, do not lift the keyboard up. Only fold back along the space bar edge.

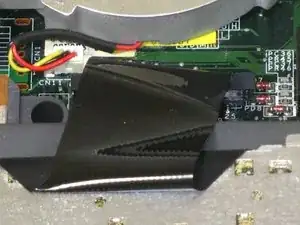
    • Potential for device damage: Do not pull the black cable by the ribbon section. Only pull it from the connector itself.

    • Follow the black ribbon cable to the connector and gently pull straight up.

  12. GJUuONADFHCpdict
    GJUuONADFHCpdict
    AZYGUAFxnKyCJwfG
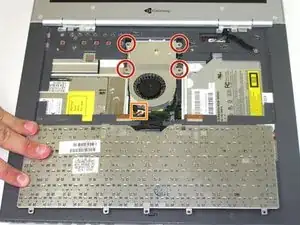
    • Unscrew the four captive screws.

    • Unplug the fan from the system and pull it out. The fan unit should slide forward before coming free.

  13. o5OSdGittETtmkgQ
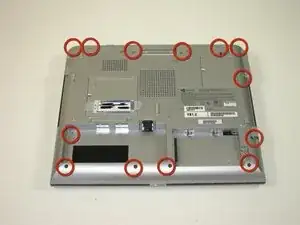
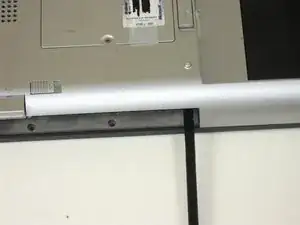
    • Remove 13 screws from bottom of computer

  14. EXCTmYY1l3TdnMX4
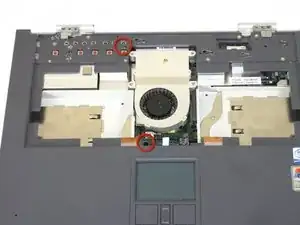
    • Remove screws

  15. pxlkSyG5ZqC1wdM6
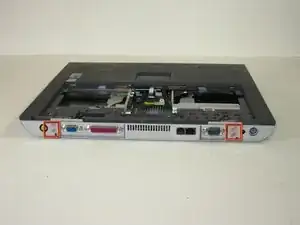
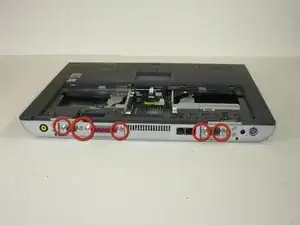
    • remove 4 screws from back of case

  16. MY5WrttnCBMKBNur
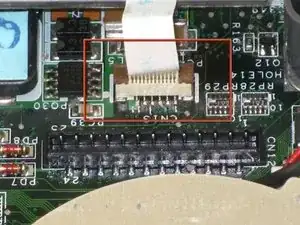
    • WARNING Failure to do this step will damage mouse pad ribbon.

    • Lift plug holding mouse ribbon about 1/16 inch or until it stops

    • remove ribbon

  17. GS5PGhDxnFtTf6TL
    • Insert spudger between upper and lower case at drive bay closest to battery.

    • Carefully and slowly go arount entire case unseating all plastic clips holding upper to lower.

  18. kedHRxxjGQfZDJFh
    • Lift upper case free about 1/4 inch

    • At rear of case is one last connecting wire. Unplug and remove upper case

  19. GMSYuSnhpMqJHM3W
    GMSYuSnhpMqJHM3W
    kjZECwjyAjn5SYSN
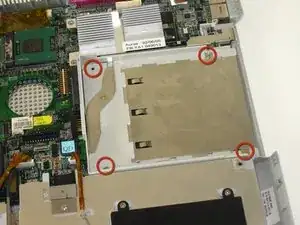
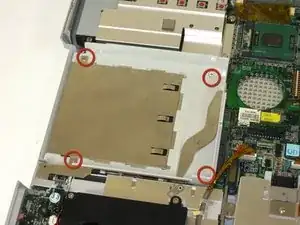
    • Remove 8 screws from drive bays.

  20. scoyFSOVOM4RGfYL
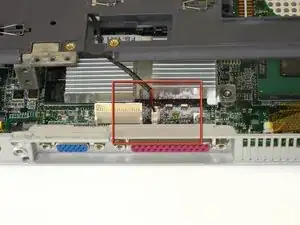
    • Remove 6 5mm hex nuts from back of laptop.

  21. RVJXTfyxOO44aBSR
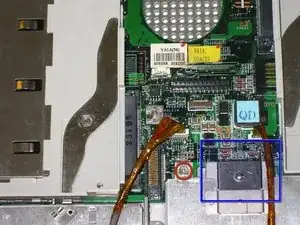
    • Remove screw

    • Slide metal clip into battery bay

  22. O41YXDUPOd2nb5Xn
    • Remove two screws.

    • Hard drive extension should lift out from system board.

  23. DXQoKkbAlg5vAM2n
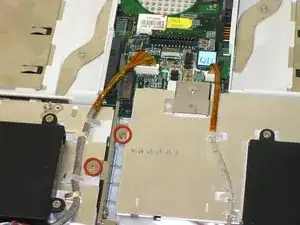
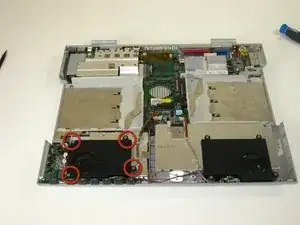
    • Remove 4 screws holding left speaker for ease of access to connectors and external sound board.

  24. sudO3hqvZyGvkXEj
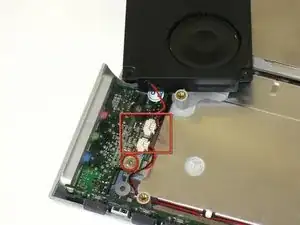
    • Remove screw and unplug speakers from external sound board.

    • Lift external soundboard away from system board and remove.

  25. egi3wox3F31wpJmC
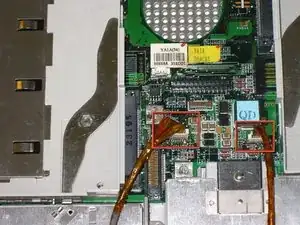
    • Unplug audio DJ

    • Unplug System status light board

    • Starting on the right side of case gently lift and slide system board till it comes free of lower case.

Abschluss

To reassemble your device, follow these instructions in reverse order.

Elizabeth Mazer

Mitglied seit: 15/10/10

78 Reputation

0 Kommentare