Einleitung

  1. 3gCvWqmT64RLJqKj
    3gCvWqmT64RLJqKj
    t6EVRBUCBRQVoYTw
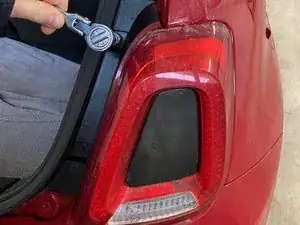
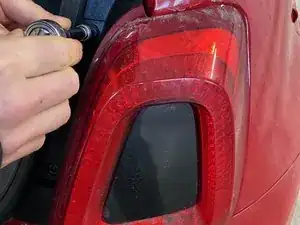
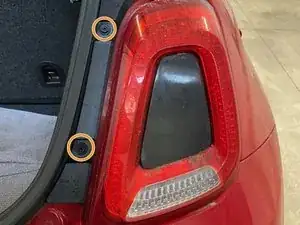
    • Remove the two 10 mm bolts to the side of the taillight.

  2. ScaUgLCSfBgwfsDG
    ScaUgLCSfBgwfsDG
    LN6xbOnXlJkeahsG
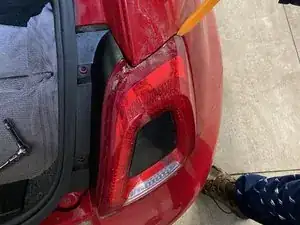
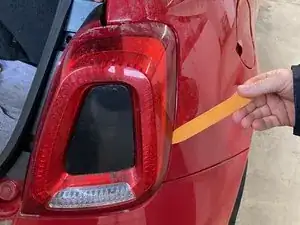
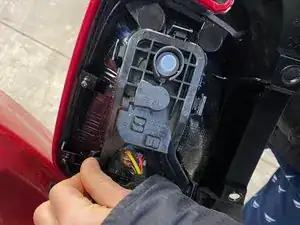
    • Using a pry tool or something flat, carefully get in-between the light and the car and pry the light off.

    • The light still has cable connections to the car body, so be sure not to rip these during removal.

  3. qvmEnDFXVJaODWrK
    qvmEnDFXVJaODWrK
    eUcPDeAChw46CkYY
    lJaiZNlQrMq44DBD
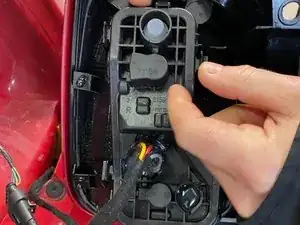
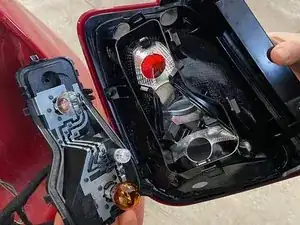
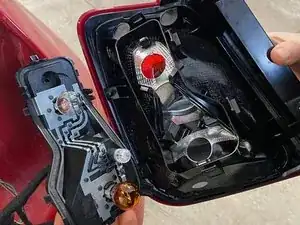
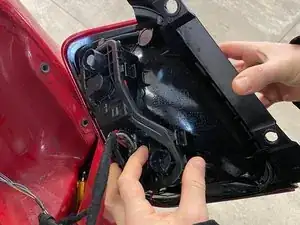
    • There are several little clips on this module.

    • Unclip the clips on the back of the light and remove the panel.

    Note: On US, Brazilian; and Canadian cars the clipped on cover is held in by T20 or T25 Torx screws (depending on location).

    Rocco Lauro -

  4. FXaG4BDCAp4kdLrG
    FXaG4BDCAp4kdLrG
    wjUDCKCeckSFQxxD
    kFkmTFMwRXQFhPiQ
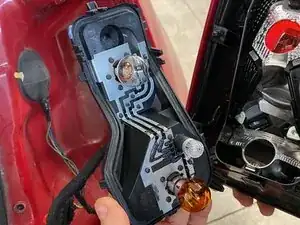
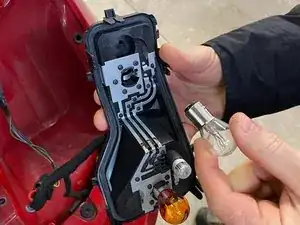
    • Remove the burnt out bulb by pulling it out from the panel.

  5. 4ywiAw2llNABJDQa
    4ywiAw2llNABJDQa
    EmksfksCytnpfDW6
    UHTWBTWSHlbYu1hh
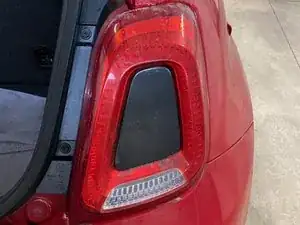
    • Clip the panel back onto the light and put it back into the frame of the car.

    • Replace the two bolts with a 10 mm socket.

Abschluss

To reassemble your device, follow these instructions in reverse order.
Tim Polishchuk

Mitglied seit: 11/01/21

121 Reputation

0 Kommentare