Einleitung
Ersetze die komplette Display-Einheit deines Fairphone 2.
Ersatzteile
-
-
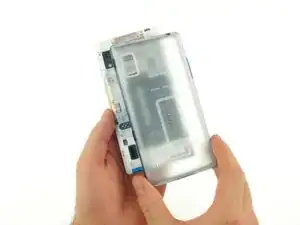
Löse die Rückschale, indem du einfach an einer der Ecken beginnst und dich am Rand entlang arbeitest.
-
Nimm die Rückschale ab.
-
-
-
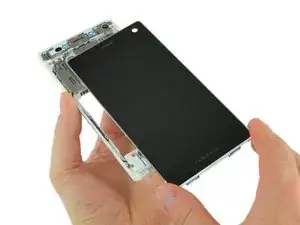
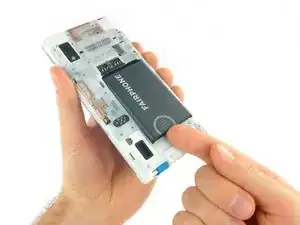
Nachdem der Akku herausgenommen wurde entriegelst du die Display-Einheit.
-
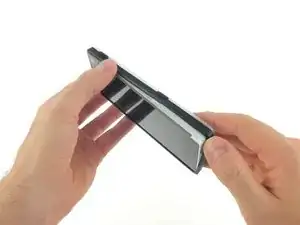
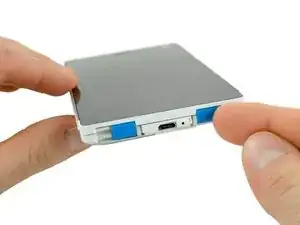
Stelle hierfür die beiden blauen Schalter auf die innere Position.
-
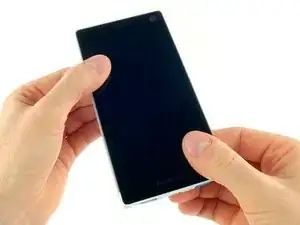
Schiebe die Display-Einheit nach unten.
-
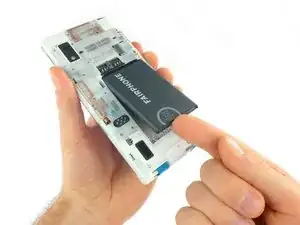
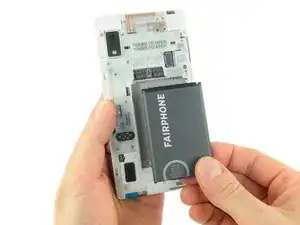
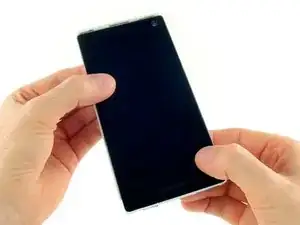
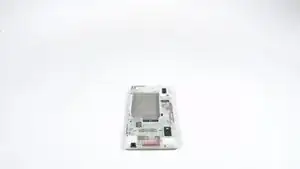
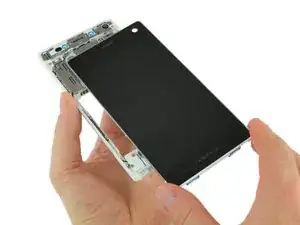
Arbeite die Schritte in umgekehrter Reihenfolge ab, um dein Gerät wieder zusammenzubauen.

7 Kommentare
Bonjour ! Es-tu bien sûr d'avoir déplacé les deux languettes bleues vers l'intérieur pour libérer l'écran ? Si oui, n'hésite pas à appliquer une certaine force sur l'écran (appuyer et déplacer vers toi).
Keine chance das Display zu bewegen. Nach 1h versuchen und allen FP2 Tutorials Videos bin ich immer noch gleichweit. Definitiv Verbesserung würdig. Für weitere Tipps bin ich dankbar, wird es sonst wieder zurück senden :-(
Ich habe keine blauen Schalter, ich rede vom FP 1U, ist das korrekt?
Birgit -
My cover is broken - the rubber is lifting from the hard plastic. What can I do? Where can I purchase replacement cases? Perhaps the iFixit app could affiliate with the parts suppliers and host a link for when parts go missing or broken.
Osh Gates -
Thanks for the hint. We added a link to the spare part directly from Fairphone (also for all the other guides and parts). Be aware that Fairphone only ships to European continental countries as stated on their page: https://support.fairphone.com/hc/en-us/a...
Tobias Isakeit -
It wasn’t obvious that the outer rim of the cover alaso need to be unclipped after the back cover was removed.
Once I did that, everything was easier.
Stephen Morton -
It wasn’t obvious that the outer rim of the case also needed to be removed. Once I worked this out, everything was much easier.
Stephen Morton -
I am with Stephen Morton. I didn’t understand that there was an independent rim, but once I saw Stephen’s comment, it was quite easy. I think you should add this as a stage in this process.
M ichael Cross -
The image is misleading. The black rim and the back cover are two different items and do not come out together. The first to be removed is the back cover, here the transparent item, and then remove the black rim in the opposite direction as the back cover. Please fix the image, as it can be risky to try to do it as shown.
Domingo Alvarez Mendez -
I’ll add to what other people are saying, trying to raise the topic for a change. You cannot remove the cover as a whole, it has two pieces that must come separately.
Aloïs Glibert -
The above confusion comes from the fact the picture shows the original 1-piece cover with a soft rubber rim, whereas all recent FP2 are sold with the new slim cover that comes in 2 part : first remove the back, then the front part. Hope this helps!
-> the pictures should be updated as they are not accurate for new users most probably needing the help now
tonidekohlanta -
We have a separate guide for replacing the slim case version of the back cover / bumper. You can find it here: Fairphone 2 Slim Case Austauschen
Tobias Isakeit -