Einleitung
Hat dein optisches Laufwerk deine Lieblings-CD gefressen? Hat dein Dreijähriger Münzen in den Schlitz geschoben? Keine Sorge! Diese Anleitung zeigt dir, wie du eine verklemmte Disc oder ein anderes Objekt aus dem optischen Laufwerk entfernen kannst.
Werkzeuge

-
-
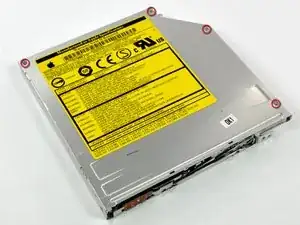
Das optische Laufwerk hast du schon aus deinem Computer ausgebaut. Drehe die Schrauben auf der Oberseite des optischen Laufwerks heraus.
-
-
-
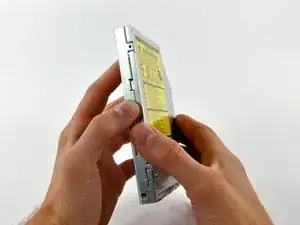
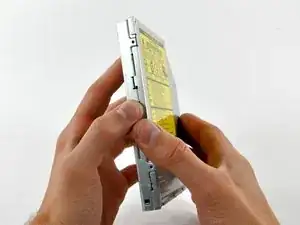
Wenn die Schrauben entfernt sind, kannst du das obere Abdeckblech leicht in Richtung Hinterseite des optischen Laufwerks schieben, sodass die Halteklammern das Gehäuse des Laufwerks freigeben.
-
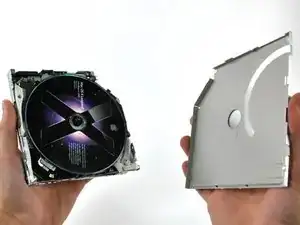
Hebe das Abdeckblech weg vom optischen Laufwerk.
-
-
-
Entferne jegliches fremde Objekt im Laufwerk.
-
Wenn eine Disc steckengeblieben ist, dann ziehe sie einfach vom Spindelmotor ab.
-
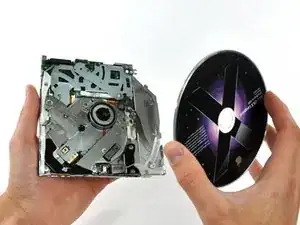
Um dein Gerät wieder zusammenzusetzen, folge den Schritten in umgekehrter Reihenfolge.

7 Kommentare
Worked perfectly !!!
zhp -
There should be a caveat. The screws are extremely tiny and can strip easily, besides get lost. Be sure to work away from the edge of a table. On my MBP early 2008 17" there are three brackets, it's a good idea to snap a photo of the layout or mark with a pen to help re-orient.
Also though my case looked like the one above, the label was reversed and the drive was a Panasonic made in China. On trying to open the case per the instructions it should be noted there's a circuit board looking piece of plastic with the ribbon cable, remove first by prying away.
Also when I got the left side unhinged, the right side would not slide so it took twisting the top clockwise, the right side stayed attached though I got the case cracked about 45 degrees and got my system install disk out. On reassembly be very careful to line up the top holes to the metal underneath, and check first around the case edge that it is completely seated. Don't over tighten the screws or they will strip.
Never the less on the rear bracket that fastens to the logic board hole the screws wouldn't take and the bracket stayed loose. Am considering a dab of epoxy in the holes wiped flush to re-attach the bracket after drying.
My Powerbook G4 1.67GHz had two additional brackets on either side of the drive, secured with phillips screws slightly smaller than the 4 main drive screws. Both brackets had to be removed to open the drive case. #0 Phillips worked, but I had to put great pressure on the driver.
srbrownsc01 -
Hi iFixIt! Love your website! Am using it to repair a friend's MBP 13-inch. Instructions for disassembling the optical drive call for a PH00 screwdriver. I have to use a PH0 on the one I'm working on. So, as an FYI, some of the bit sizes listed may differ from your particular situation. Thank you! Jim Willard - Panama City, FL
Jim -