Einleitung
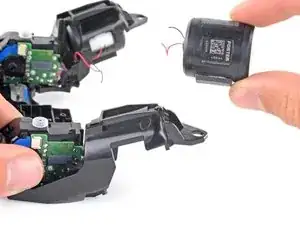
Follow this guide to replace the vibration motors on a Sony PlayStation 5 DualSense controller.
This guide requires desoldering and soldering the vibration motor wires.


-
-
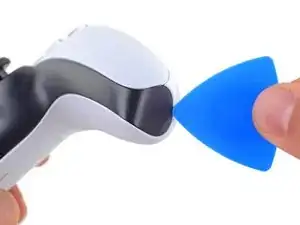
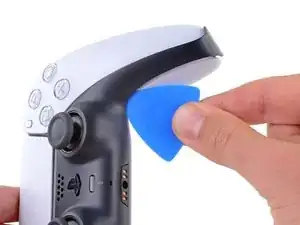
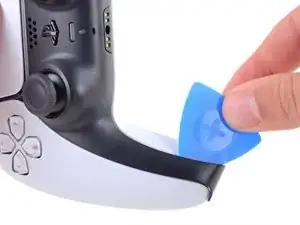
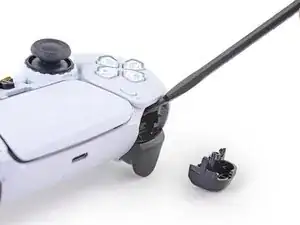
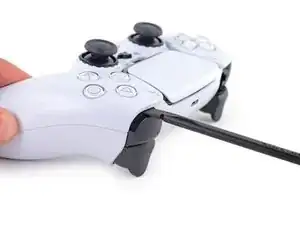
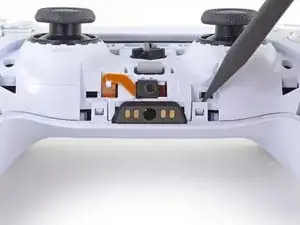
Insert an opening pick underneath the middle trim at the bottom-right corner of the controller to release the clips securing it to the case.
-
-
-
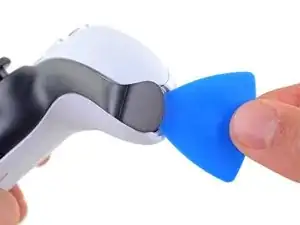
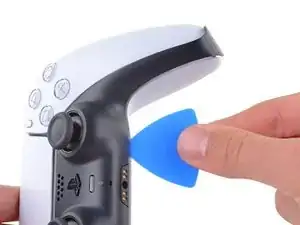
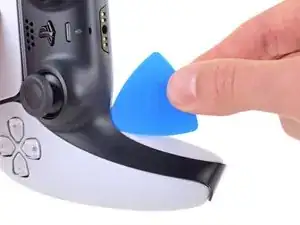
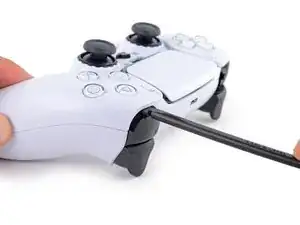
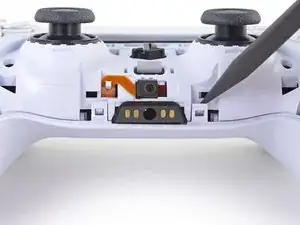
Slide the opening pick along the lower-right edge of the middle trim to release the clips securing it to the case.
-
-
-
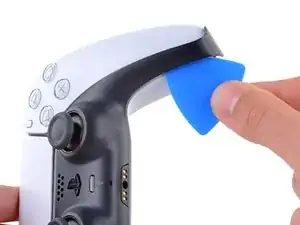
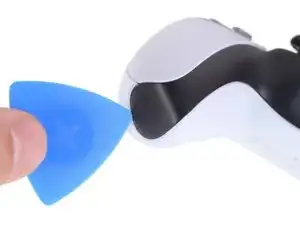
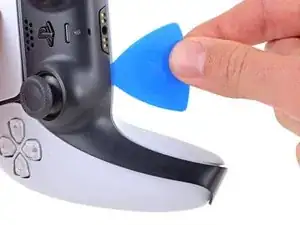
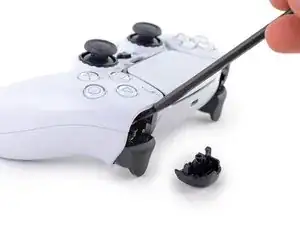
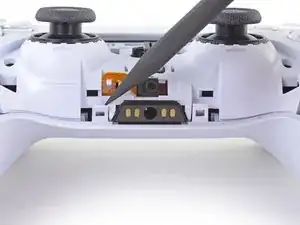
Insert an opening pick underneath the middle trim at the bottom-left corner of the controller to release the clips securing it to the case.
-
-
-
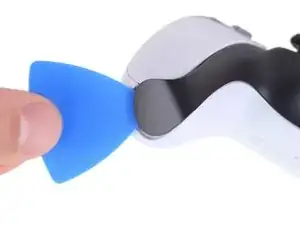
Slide the opening pick along the lower-left edge of the middle trim to release the clips securing it to the case.
-
-
-
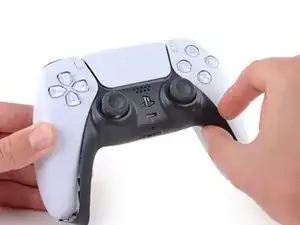
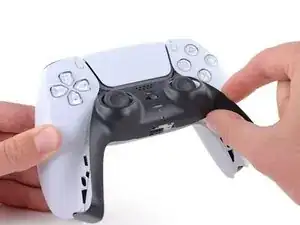
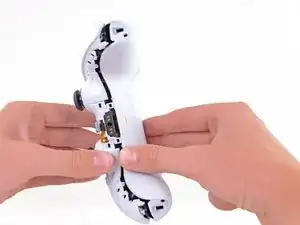
Use your fingers to lift up the bottom edge of the middle trim to release the remaining clips.
-
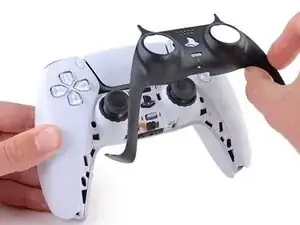
Lift the middle trim over the joysticks to remove it.
-
-
-
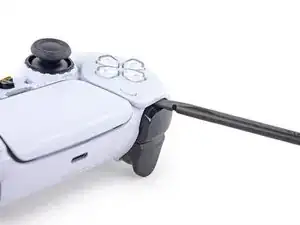
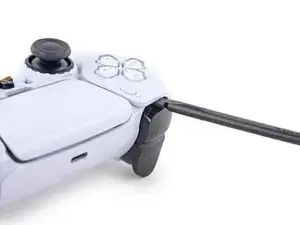
Insert the flat end of a spudger into the gap above the L1 button.
-
Pry upward to remove the L1 button.
-
-
-
Insert the flat end of a spudger into the gap above the R1 button.
-
Pry upward to remove the R1 button.
-
-
-
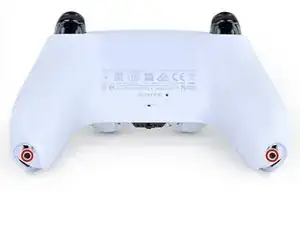
Use a Phillips screwdriver to remove the two 6.4 mm screws securing the bottom corners of the lower case.
-
-
-
Use the pointed edge of a spudger to unclip the two clips on either side of the headset jack.
-
-
-
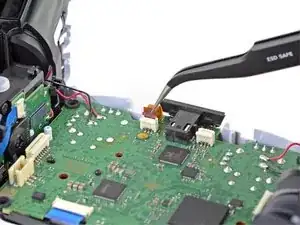
Grab the lower microphone ribbon cable pull tab with your fingers or a pair of tweezers and disconnect it from the motherboard.
-
-
-
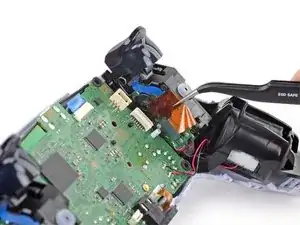
Grip the right trigger assembly ribbon cable pull tab with a pair of tweezers or your fingers and pull up to disconnect it from the motherboard.
-
-
-
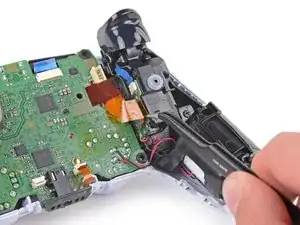
Grip the right trigger assembly ribbon cable pull tab with a pair of tweezers or your fingers, and pull up to disconnect it from the trigger assembly.
-
Remove the ribbon cable.
-
-
-
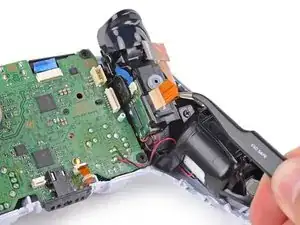
Grip the left trigger assembly ribbon cable pull tab with a pair of tweezers or your fingers and pull up to disconnect it from the motherboard.
-
-
-
Grip the left trigger assembly ribbon cable pull tab with a pair of tweezers or your fingers, and pull up to disconnect it from the trigger assembly.
-
Remove the ribbon cable.
-
-
-
Use a pair of tweezers or your fingers to grip the upper microphone ribbon cable pull tab, and pull up to disconnect it from the motherboard.
-
-
-
Use a pair of tweezers or your fingers to grip the touchpad ribbon cable pull tab, and pull it straight out of the motherboard connector.
-
-
-
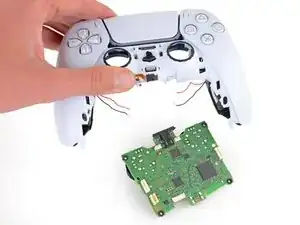
Flip over the controller and motherboard.
-
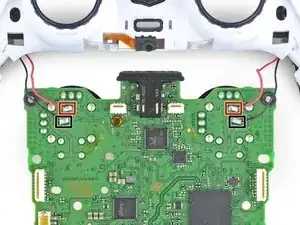
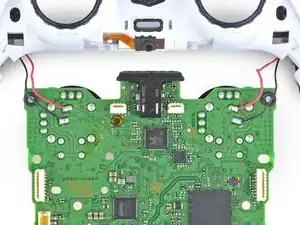
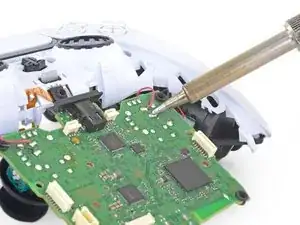
Use a soldering iron to desolder the vibration motor wires from the motherboard:
-
Two red wires
-
Two black wires
-
-
-
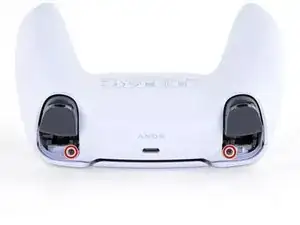
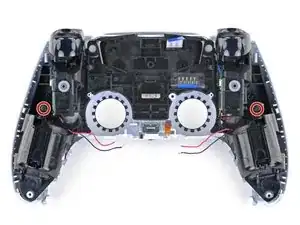
Use a Phillips screwdriver to remove the two 6.4 mm screws securing the midframe to the front case.
-
-
-
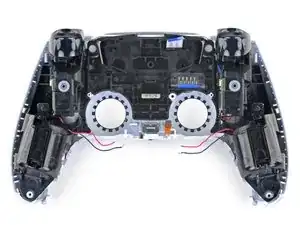
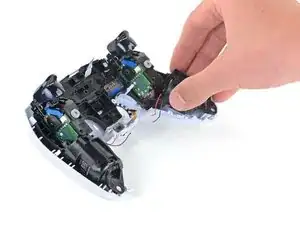
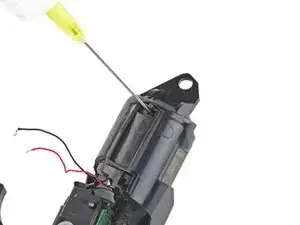
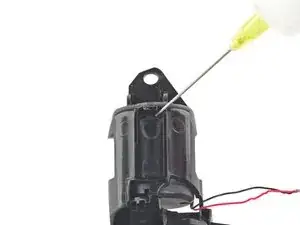
Apply high concentration isopropyl alcohol (90% or greater) to the vibration motors through the openings in the bottom of the midframe.
-
Allow the isopropyl alcohol to soak for one minute to dissolve the adhesive securing the vibration motors to the midframe.
-
-
-
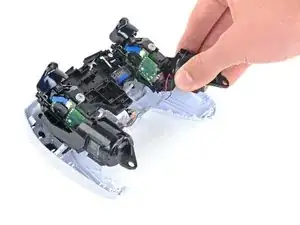
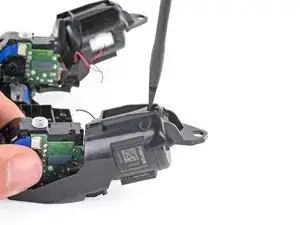
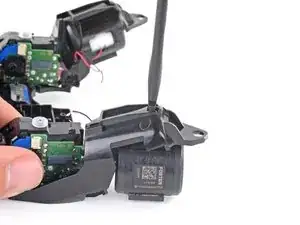
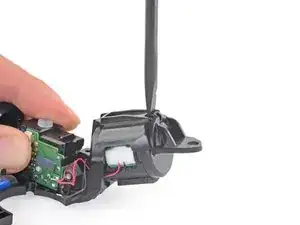
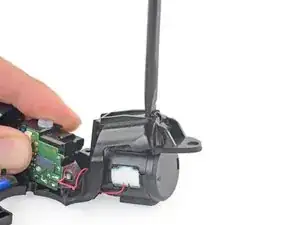
Insert the flat end of a spudger into the gap in the midframe below the right-hand vibration motor.
-
Press down to separate the right-hand vibration motor from the midframe.
-
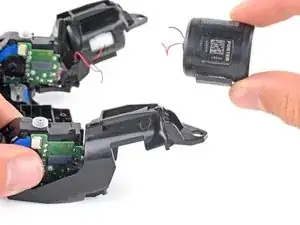
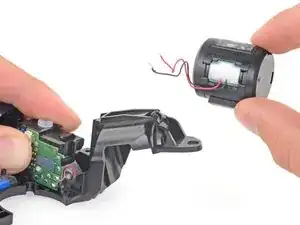
Remove the right-hand vibration motor.
-
-
-
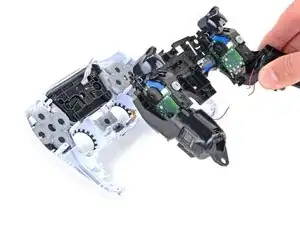
Insert the flat end of a spudger into the gap in the midframe below the left-hand vibration motor.
-
Press down to separate the left-hand vibration motor from the midframe.
-
Remove the left-hand vibration motor.
-
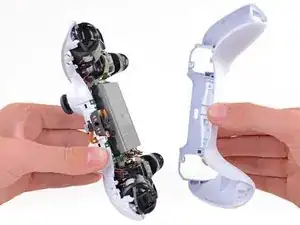
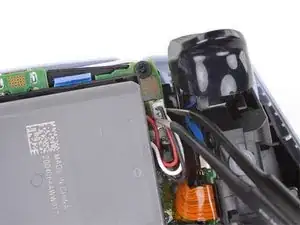
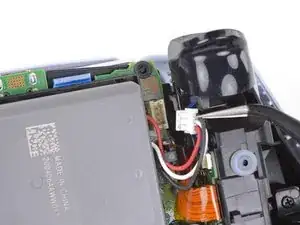
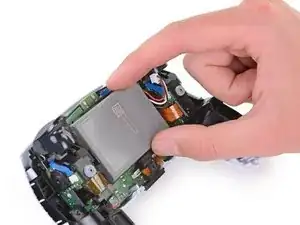
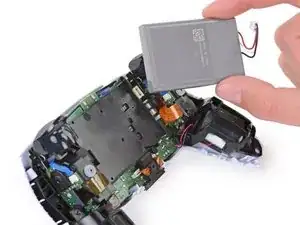
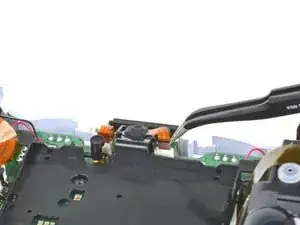
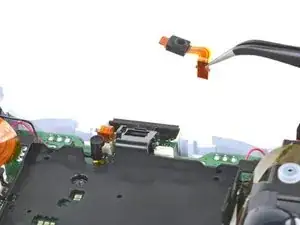
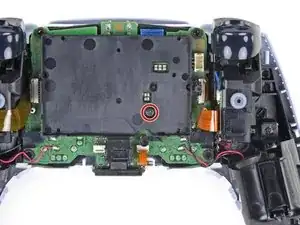
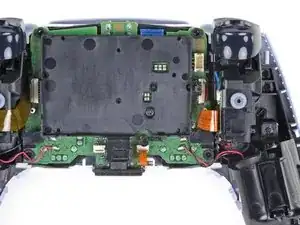
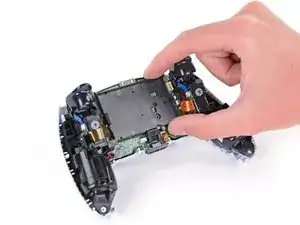
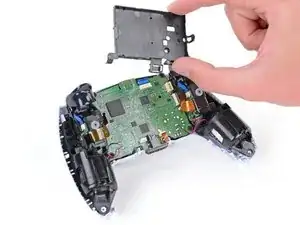
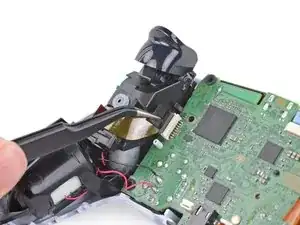
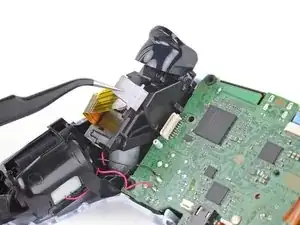
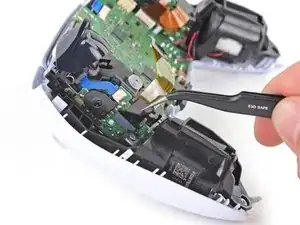
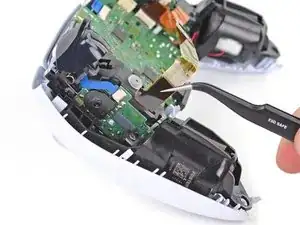
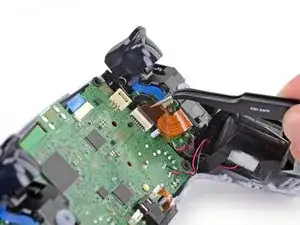
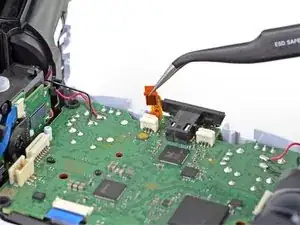
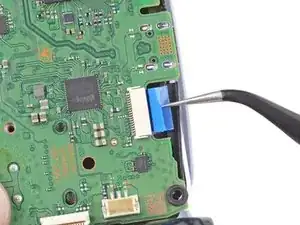
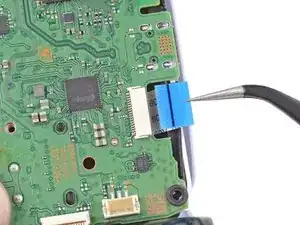
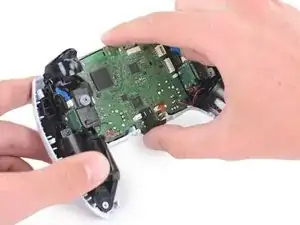
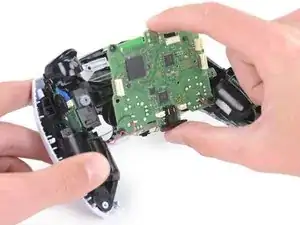
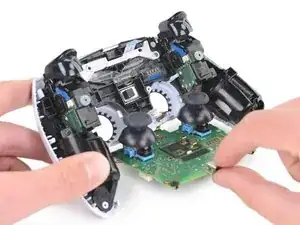
To reassemble your device, follow the above steps in reverse order.
Take your e-waste to an R2 or e-Stewards certified recycler.
Repair didn’t go as planned? Try some basic troubleshooting, or ask our Answers community for help.

Ein Kommentar
Where's the source on the replacement haptic?