Einleitung

This is a prerequisite guide only. In the following steps, you will remove two exterior parts, then remove the screws that hold the casing together.

  1. hG31yPWsVMT4Mi6B
    hG31yPWsVMT4Mi6B
    MIpaOXv4E5FpEsCE
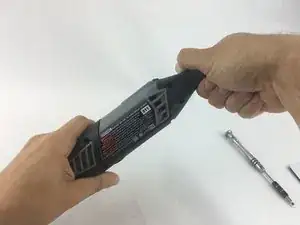
    • Start by removing the housing cap by unscrewing it.

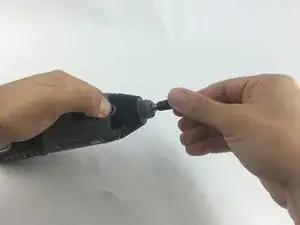
    • Next, unscrew the now exposed collet nut while holding down the shaft lock button.

    • To remove the collet nut, you may need to use the small open-end wrench provided with the Dremel.

    Is this a joke??? Wanna maybe possibly tell US WHAT A COLLET NUT LOOKS LIKE?? I mean it's obviously very exposed (not exposed one bit. My Dremel 4000 looks exactly like it did before. No Collet nut suddenly stood out) and not all of us have advanced degrees in Dremel parts

    Jeff Wagner -

  2. q4GC5tA1x1ldOxqB
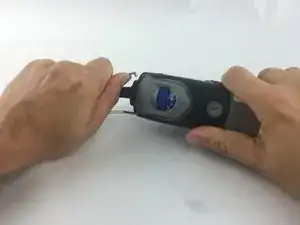
    • Using your hands, carefully remove hanger from casing.

    Mine seems to have solid caps without the slot. How are this type removed?

    claire roche -

    This is getting worse. Maybe skipping the Collet Nut part threw me off - as there is no hanger. This description is PATHETIC!!!

    Jeff Wagner -

    I love how these pictures show you NOTHING related to what this guy is talking about

    Jeff Wagner -

  3. lXalDhMPrgMLtgUR
    lXalDhMPrgMLtgUR
    VcPSkuPEgl5ksnkW
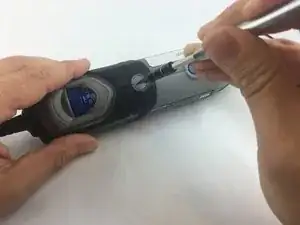
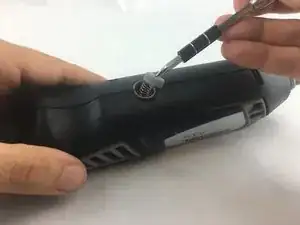
    • Remove the brush caps (one on each side) by using a flathead screwdriver bit.

    • The brush caps are spring loaded.

  4. FbtprKGNAd6vyBmI
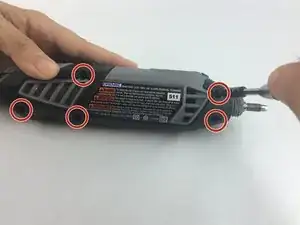
    • Using the Torx 15 screwdriver tip, remove the 5 screws (12.5 mm) that hold the casing together.

  5. dyfaIQgmdAtBdopw
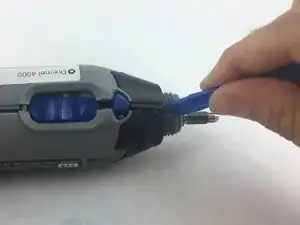
    • Use a plastic opening tool to gently wedge apart the hard plastic threads.

  6. WtaNHfZSJIh6ugsN
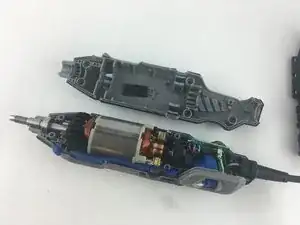
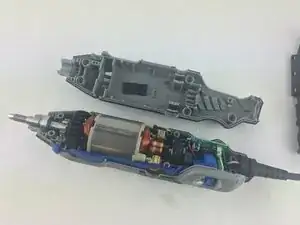
    • Use your hands to carefully remove the back casing so that none of the components fall out.

Abschluss

To reassemble your device, follow these instructions in reverse order.

John Cobb

Mitglied seit: 20/01/16

1494 Reputation

0 Kommentare