Einleitung

  1. N4FDwBPG1vfExbOg
    N4FDwBPG1vfExbOg
    EiWbPjsaVgOBKBk2
    lSZmwFLSHDkCPhJO
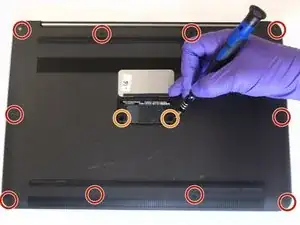
    • Turn the laptop upside down.

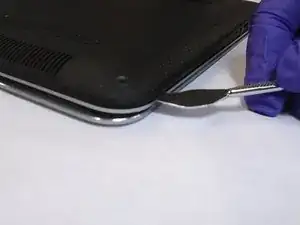
    • Unscrew ten 3 mm screws on the back cover with a Torx T5 screwdriver.

    • Remove two more 3 mm screws with a Phillips #0 screwdriver.

  2. FV5BEhdvPCjDVZix
    FV5BEhdvPCjDVZix
    GI1dgjAdiOsoryVD
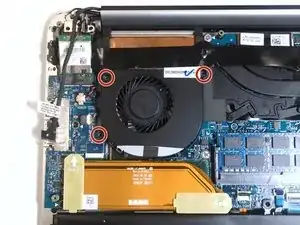
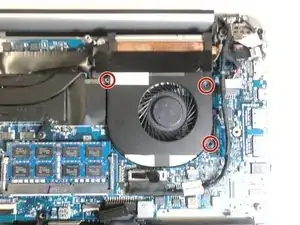
    • Use the Phillips #0 screwdriver to unscrew the three screws on each fan.

  3. 2do3jZajXRyQokNS
    2do3jZajXRyQokNS
    fUilXeHYWPLxWIpy
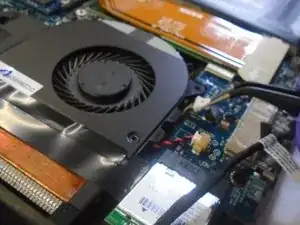
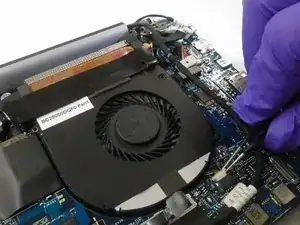
    • Use metal tweezers to carefully unplug the fan cables from the motherboard.

  4. IvAGZ6UusGQTJB5L
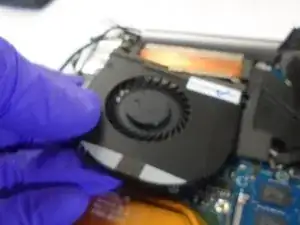
    • Remove the fans by gently lifting up the edges until the fans disconnect from the motherboard completely.

  5. PKVBPtGLcxvjvCu2
    PKVBPtGLcxvjvCu2
    Qf1dDcUe4yvsOeP2
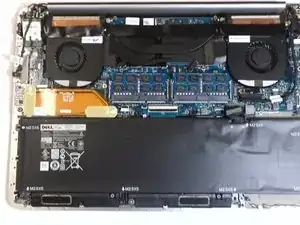
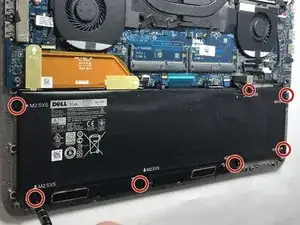
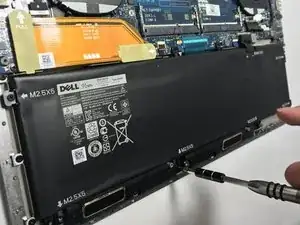
    • Using a Phillips #0 screwdriver, remove the seven 3.5mm screws that secure the battery to the palm rest assembly.

  6. AcMoTBCh2BCu2GPE
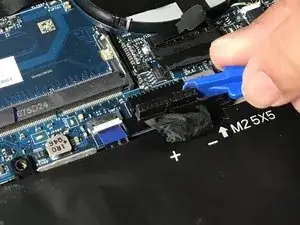
    • Disconnect the battery cable from the system board.

    • Be sure to use a plastic tool, not a metal one.

  7. 6nuYkBdRPoEcQXXc
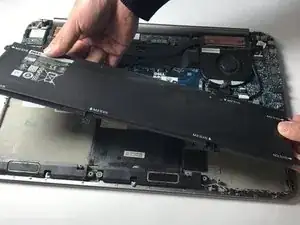
    • Lift the battery off the chassis.

  8. 65xPOlSO62NM143J
    65xPOlSO62NM143J
    LGDoJb2qIYMBlahn
    RmFvonJjPm4MC4YO
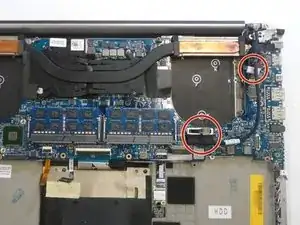
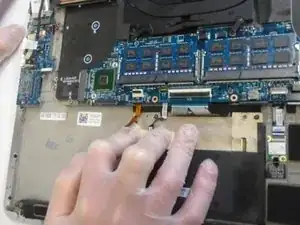
    • Using both hands and plastic tweezers, disconnect the cables from the laptop base.

  9. yNZNnyNb35dFGo2L
    yNZNnyNb35dFGo2L
    uGEyvwMu3VUVqiGN
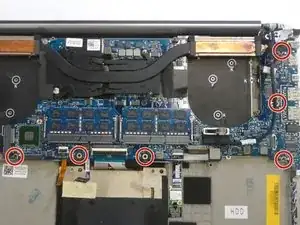
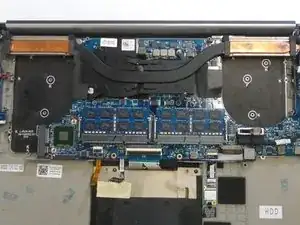
    • Use phillips #0 screwdriver to unscrew the screws connecting the motherboard and the laptop base.

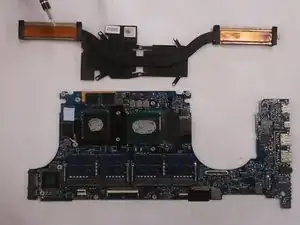
    • Lift up the motherboard with the plastic fan holder on top of it.

  10. cDbKvGhineJhjI2j
    cDbKvGhineJhjI2j
    KUfSLHeEcGZWaVHi
    HMEvfwWB5iHhJRLS
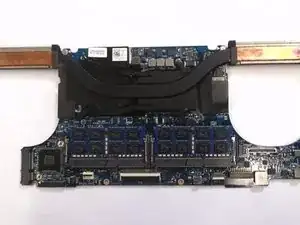
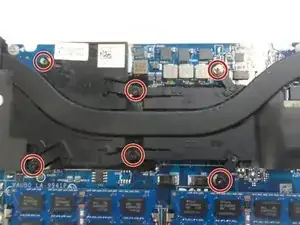
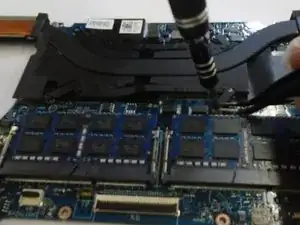
    • Use T5 Torx screwdriver to unscrew the screws connecting the plastic fan holder and the motherboard.

Abschluss

To reassemble your device, follow these instructions in reverse order.

Matt

Mitglied seit: 02/10/19

169 Reputation

0 Kommentare