Einleitung


-
-
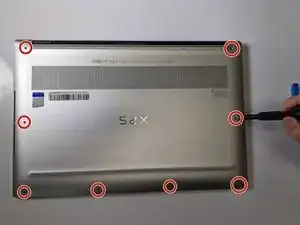
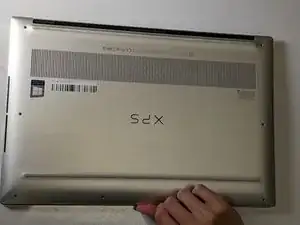
Gently wedge an opening tool in the gap between the base panel and chassis, and pry vertically around the perimeter until it releases from the chassis.
-
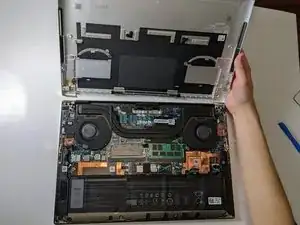
Lift the base panel up and away from the chassis.
-
-
-
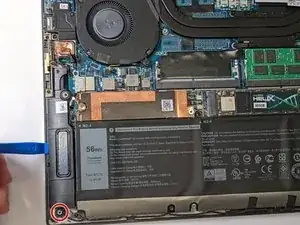
Use a Phillips #00 screwdriver to remove the two 3.0 mm screws (one on each speaker).
-
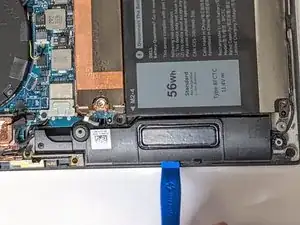
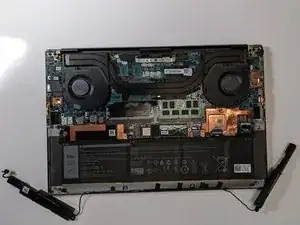
Use an opening tool to lift out the speaker.
-
-
-
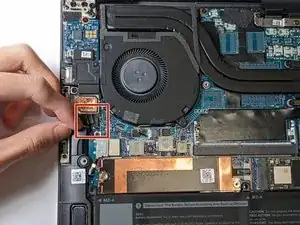
Use an opening tool to push the left speaker's cable out of its port until it is disconnected.
-
Abschluss
To reassemble your device, follow these instructions in reverse order.