Einleitung
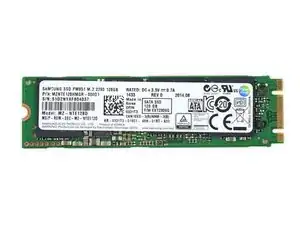
Hier wird der Austausch der SSD gezeigt.


Ersatzteile
-
-
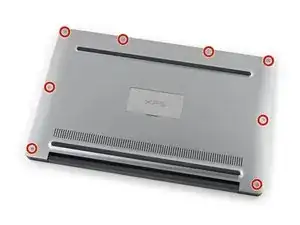
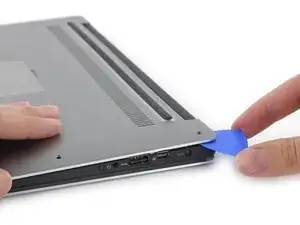
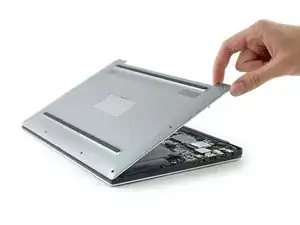
Entferne acht Torx T5 Schrauben.
-
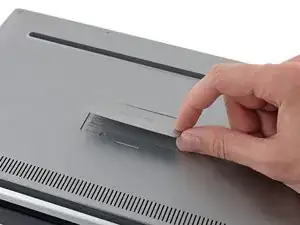
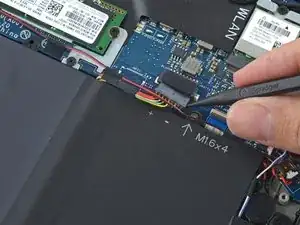
Hebe die Plastiklasche hoch.
-
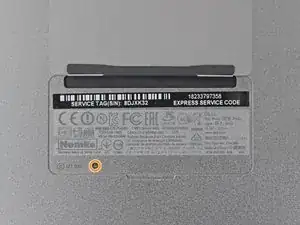
Entferne eine Kreuzschlitzschraube unter der Lasche.
-
-
-
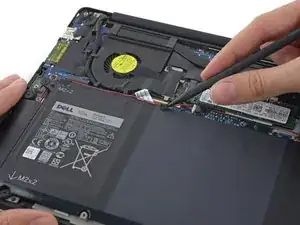
Entferne eine Kreuzschlitzschraube, welche die SSD festhält.
-
Ziehe die SSD parallel zur Hauptplatine heraus.
-
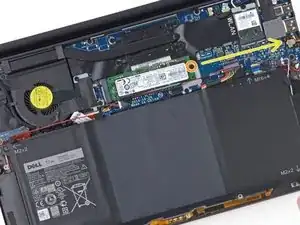
Um dein Gerät wieder zusammenzusetzen, folge den Schritten in umgekehrter Reihenfolge.

7 Kommentare
I’m kinda new on pc upgrading. So once I install a new m.2 I’ll need to install a new window 10 right
Yes, you have to install windows again. or you can clone your existing ssd onto the new one using some adapters easily found online
You will have to reinstall unless you are buying a samsung m.2 which comes with a disk duplicator utility. The xps 13 cames with a samsung early life evo disk (128GB) and transferring from 1 evo to another is very easy with the app. I believe its the same with every disk though I havent tried the latter.
Dell has some nice recovery tools:
https://www.dell.com/support/kbdoc/en-us...
I downloaded a recovery image to use from a USB drive. I am using it to reinstall the Windows that came with the PC. You don't have to be the original owner but you do need to have the Dell asset number usually stored in the bios
https://www.laptopmag.com/articles/upgra...
helpful resource
My “Plastic tab” is actually a “metal tab” (Steel, it would seem from heft, rigidity and magnetism)
Miles Goodhew -