Einleitung
In this guide, we will show you how to remove and replace the Hard Drive of the Dell Inspiron 11z
Werkzeuge

-
-
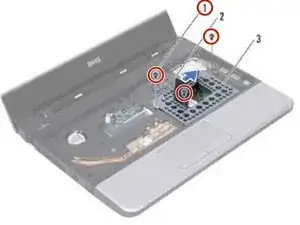
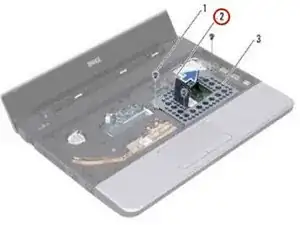
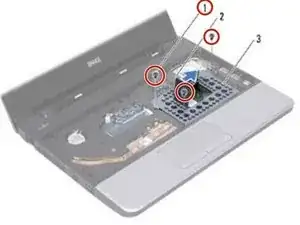
Pull the pull-tab on the hard drive bracket towards the right to disconnect the hard drive assembly from the interposer.
-
-
-
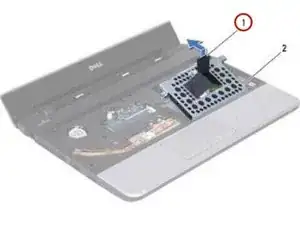
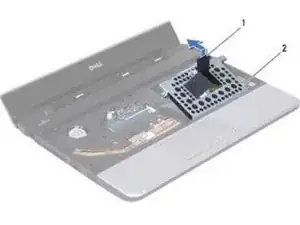
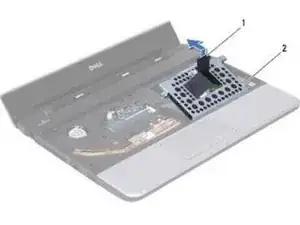
Pull the pull-tab on the hard drive bracket to lift the hard drive assembly at an angle and out of the hard drive compartment as shown in the illustration.
-
-
-
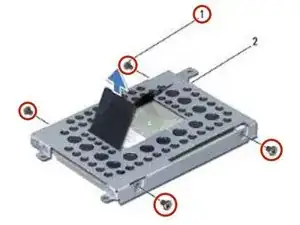
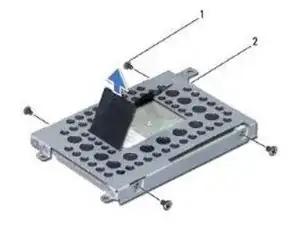
Remove the four screws that secure the hard drive bracket to the hard drive and remove the hard drive bracket.
-
-
-
Replace the hard drive bracket and the four screws that secure the NEW hard drive bracket to the hard drive.
-
-
-
Push the hard drive assembly towards the left until it is fully connected to the interposer.
-
To reassemble your computer, follow these instructions in reverse order.