Einleitung

Use this guide to replace the optical drive in your computer.

  1. ElUsnSBAWaLOJXGZ
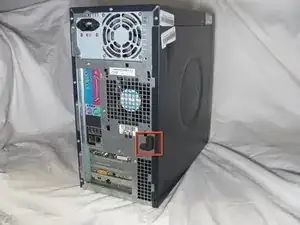
    • Locate the case cover latch on the back of the computer.

  2. qMyOcnbDViqIqilc
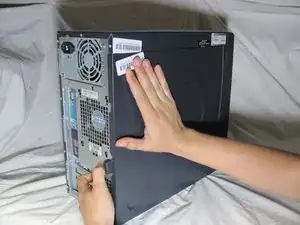
    • Using your index finger, slide and hold the cover latch down.

    • While holding the latch down, place your other hand flat on the side of the case and firmly shift the side panel to the left until it disengages.

  3. 6V4IAOqDMRyFZK1s
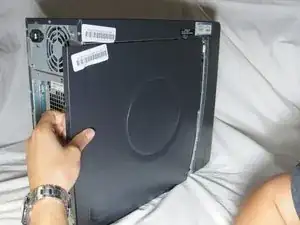
    • Grab the edge of the panel and slide it away from the case until it is removed.

  4. wLPlH1OZQubBBPUk
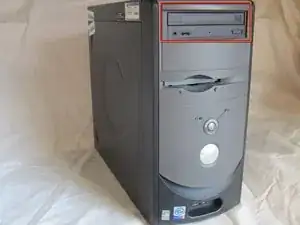
    • Locate the Optical Drive by finding it externally on the case.

  5. P6WZgGZSwNLEIpIh
    P6WZgGZSwNLEIpIh
    H2lk5fZiUZXOokdh
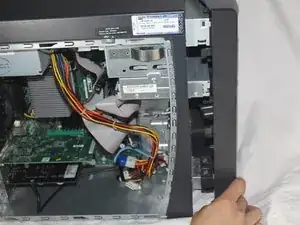
    • Press and hold the two levers located behind the front panel.

    • While holding the levers down, swing open the front panel.

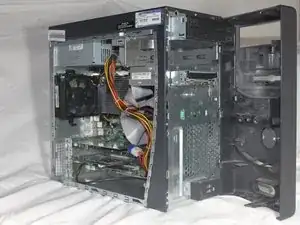
  6. OejylbSPDkekBxNv
    • Swing the front of the case open until it separates from the main case.

  7. n6aFaLMePQNs2EEq
    n6aFaLMePQNs2EEq
    JCdMTCeXoGS5Ysvn
    RK5TUypIsfJdX6MM
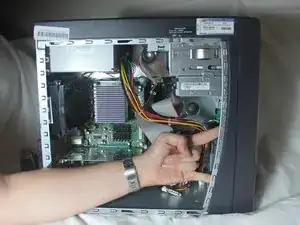
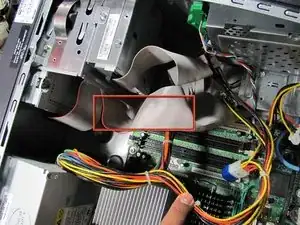
    • Lay the computer flat on it's side so that you are looking down on all of the components.

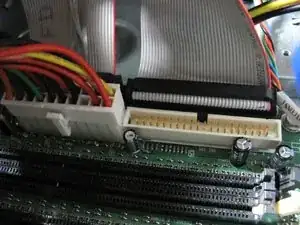
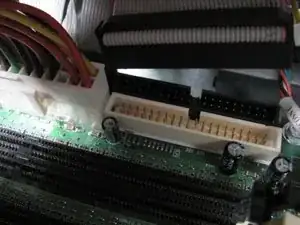
    • Locate the Drive 1 cable and where it is connected to the motherboard.

  8. YgT3rkqdtSiGT63h
    • Grasp the end of the Drive 1 cable connected to the motherboard and firmly pull upwards until it is removed.

  9. R2UXE5XdpIXpR2lq
    R2UXE5XdpIXpR2lq
    HNFFmFUoeEAVaWCY
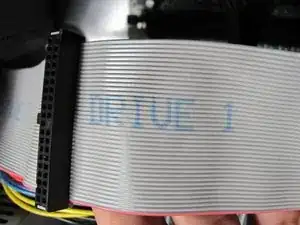
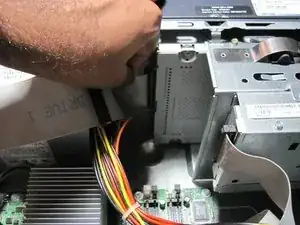
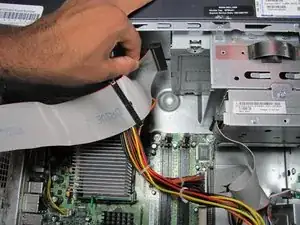
    • Locate the end of the Drive 1 cable connected to the optical drive.

    • Grasp the cable and pull firmly to disconnect it from the optical drive.

  10. EuxmdPpjFmAkxOLX
    EuxmdPpjFmAkxOLX
    FtuBItjh4nGSOuqo
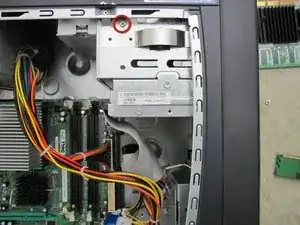
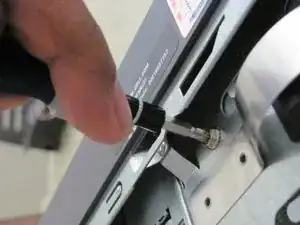
    • Locate the screw on the optical drive.

    • Remove the 7.7 mm screw by using a Phillips #2 screw-driver.

  11. MgCIEeOafCDPAq6v
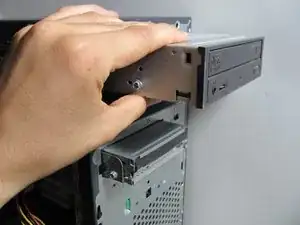
    • Remove the optical drive by sliding it out of the front of the case.

Abschluss

To reassemble your device, follow these instructions in reverse order.

Eugene

Mitglied seit: 12/10/11

201 Reputation

0 Kommentare