Einleitung

  1. huABA2FiCtnG2Vq3
    huABA2FiCtnG2Vq3
    gnGVSkZRnRx5xsxr
    xMZGgYeYJwN2DqkA
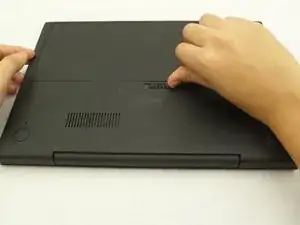
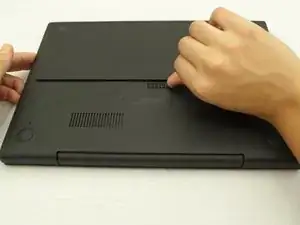
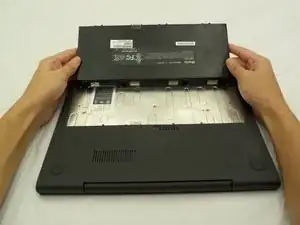
    • Slide the switch on the bottom of the laptop until the battery pops out.

    • Once the battery pops out, you can remove it.

  2. SBv1xHCQtZJUH12x
    SBv1xHCQtZJUH12x
    jcP2VM5oo3hrgmZC
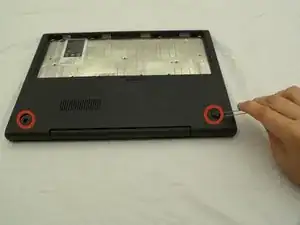
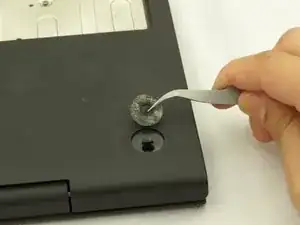
    • Using forceps or tweezers, remove the two rear rubber feet to expose two hidden screws.

  3. ah3g425Uy2ETMQCX
    ah3g425Uy2ETMQCX
    b1bx1qpMcZiZU5Yb
    rQm2t2guiDnZ41oS
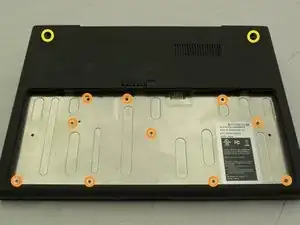
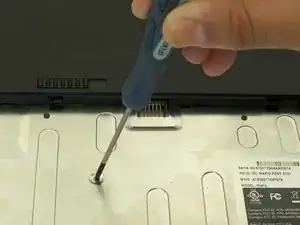
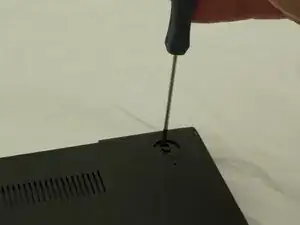
    • Using a Phillips head #00 Screwdriver, remove a total of 12 screws:

    • 10 screws in the battery compartment.

    • size ph#00, approximately 3 mm long

    • 2 screws under the rubber feet previously removed

    • Size ph#00, approximately 4.5 mm long

  4. OTWCjSmB1UfFgj2d
    OTWCjSmB1UfFgj2d
    kE2yYIRVKnJFyjQC
    lMwRsqSqNVBJVrnx
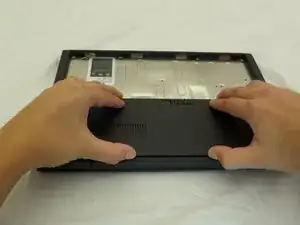
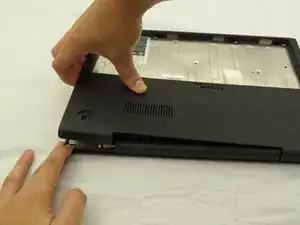
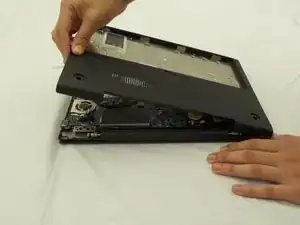
    • Starting where the body of the laptop and the laptop screen meet, pry apart the lower case from the rest of the laptop.

    • The case is easier to remove when separating in a clockwise motion, as seen in the pictures.

  5. MEeNlJvb2JNIkCCx
    MEeNlJvb2JNIkCCx
    EHTEotn4KF2hGHFw
    LYVXVbSRWWDhaGXE
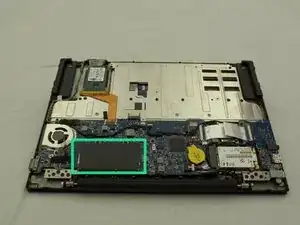
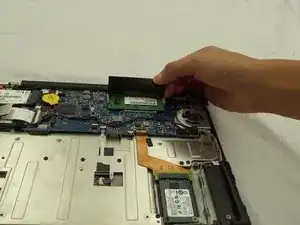
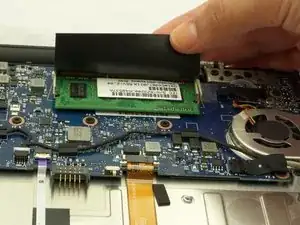
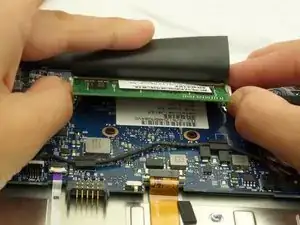
    • Locate the RAM under a black flap alongside where the laptop screen and device body meet.

  6. tZFWDdSgFGRbbJJW
    tZFWDdSgFGRbbJJW
    tKytLfqlSgqTyWKH
    iFnJmqNZHdicIIgp
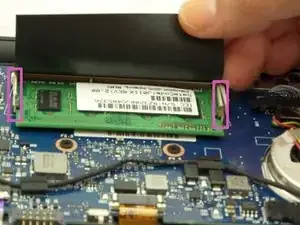
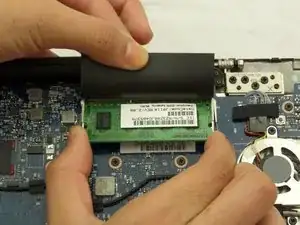
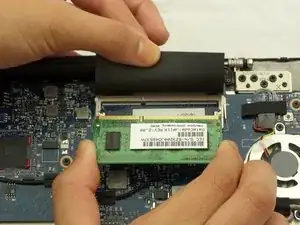
    • Locate the metal clasps on either side of the RAM Card

    • Using your thumbs, pull the pieces away from the RAM and then the RAM card should pop up.

  7. 3L4gr4unYrHYKbPk
    3L4gr4unYrHYKbPk
    HVOTYWMCDxOfnKsm
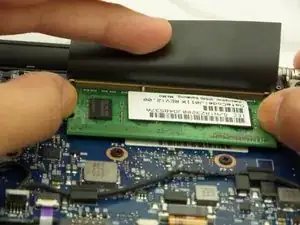
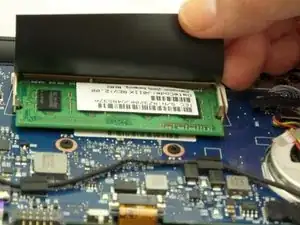
    • Use two fingers to pull the RAM upwards and out.

Abschluss

To reassemble your device, follow these instructions in reverse order.

Athar

Mitglied seit: 10/09/14

365 Reputation

0 Kommentare