Einleitung
This guide will allow you to properly replace the front and back panel of the Casio Exilim EX-Z80 camera. This will also allow you to access the inner parts of the camera in the case that the lens or motherboard need to be replaced.


-
-
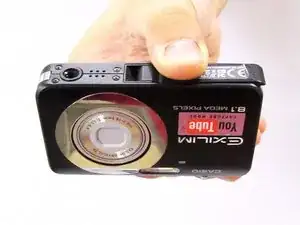
Locate the battery compartment at the bottom of the camera.
-
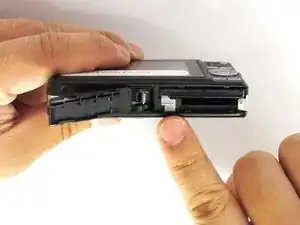
With your thumb, gently press down on the compartment door and slide to the left to open.
-
-
-
With your index finger, gently pull back gray release lever for the battery to pop out.
-
Gently pull the battery out of the slot.
-
-
-
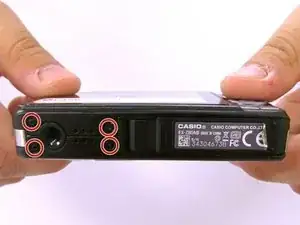
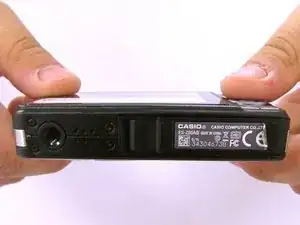
Locate the screws on the bottom of the camera.
-
With the #000 screw driver, remove the 4 3mm black screws.
-
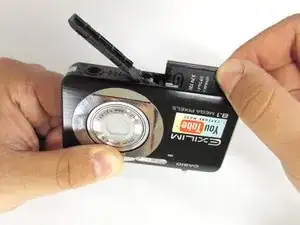
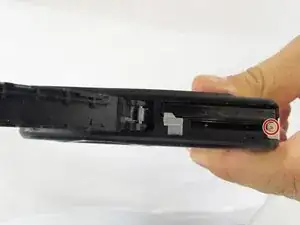
With your thumb or index finger, open the battery compartment and with the #000 screw driver remove the 2mm silver screw that is now exposed.
-
-
-
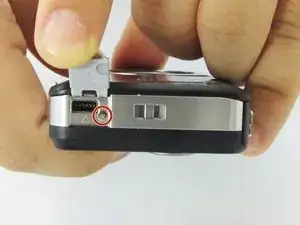
Locate the USB port of the camera.
-
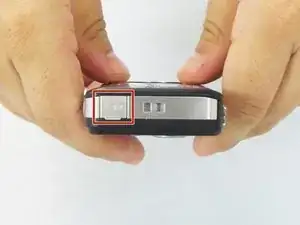
Open the usb port tab to expose a 2mm silver screw.
-
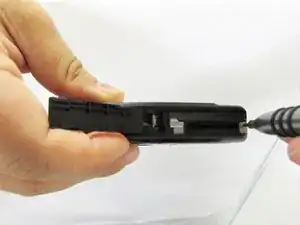
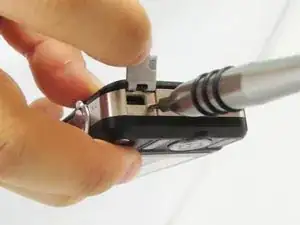
With the #000 screw driver, remove the 2mm silver screw.
-
-
-
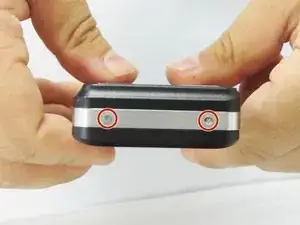
Locate the 2 exposed screws on the other side of the camera.
-
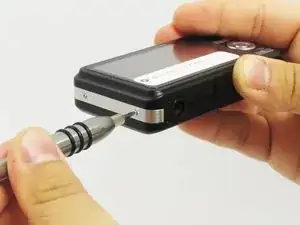
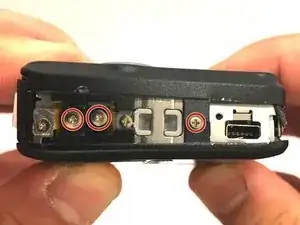
With the #000 screwdriver remove the two 2mm silver screws.
-
-
-
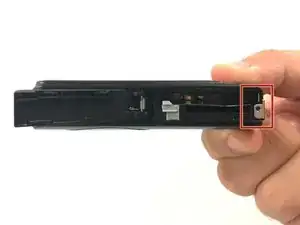
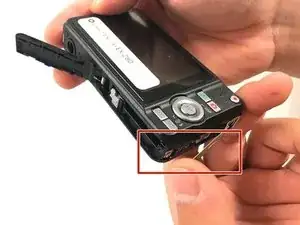
Carefully remove the silver strip from left side. Open the battery cover and remove the metal strip with fingers by sliding it to the left.
-
-
-
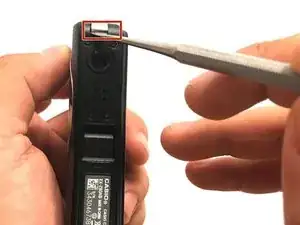
With the metal spudger, pry out the edge of the silver strip at the bottom right side of the camera.
-
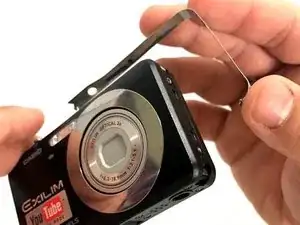
Carefully remove the remaining part of the metal strip.
-
-
-
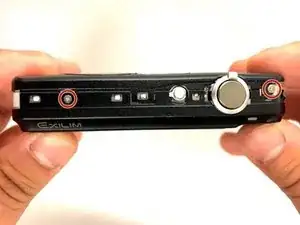
With the #000 screwdriver, remove the 2mm silver screw from the top corner of the camera near the shutter button.
-
With the #000 screwdriver, remove the second 2mm silver screw.
-
Do the same thing on the left side using #000 for the three 2mm screws.
-
-
-
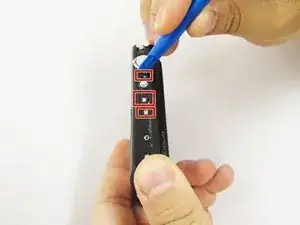
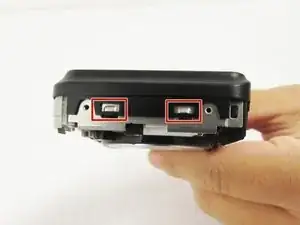
Using a small opening tool carefully release all lock tabs at the top and on the side of the camera from their locked position.
-
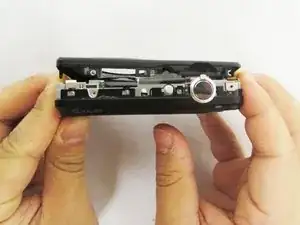
Using your hands, carefully separate the front and back panel from the camera.
-
To reassemble your device, follow these instructions in reverse order.