Einleitung
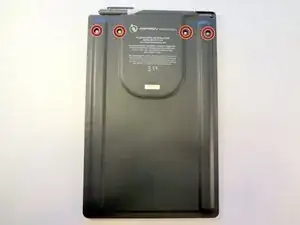
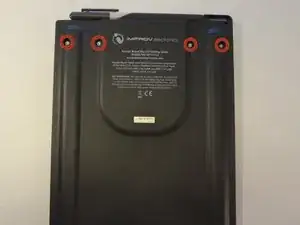
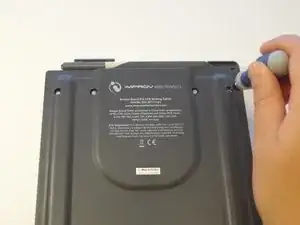
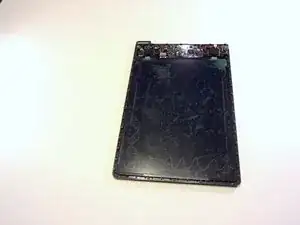
This guide shows how to safely access the device's internal components, including circuit board, battery, and internal antenna.


-
-
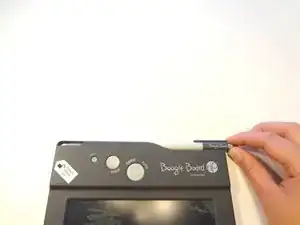
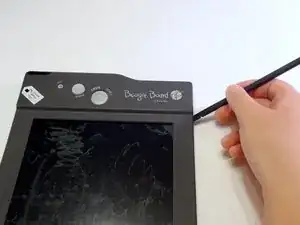
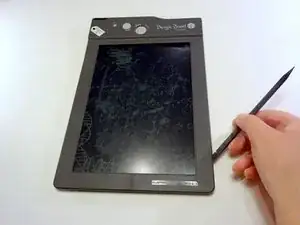
Remove the stylus if it is in the housing at the top of the device.
-
Turn the device so you are looking at it from the top down.
-
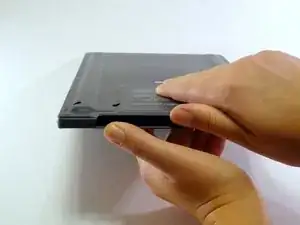
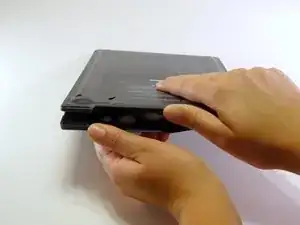
Using your thumbs on each wall of the stylus housing, open the frame of the device by gently pulling the two sides apart.
-
-
-
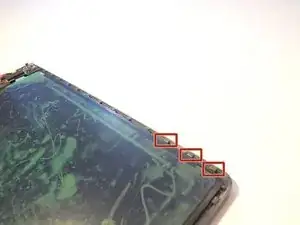
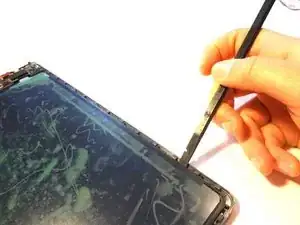
Insert a spudger into the seam between the front and back plates of the frame. Unsnap the snaps around the entire frame of the device.
-
Remove the front face plate by pulling it straight up.
-
-
-
Use a spudger (or gently bend the back plate of the device) to unsnap the snaps holding the screen in place.
-
-
-
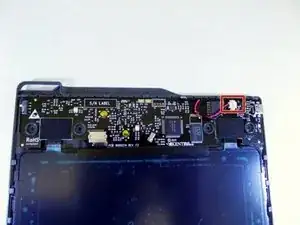
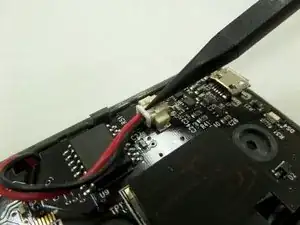
With a spudger, press against the lip of the connector closest to the wires to remove the battery connector from the motherboard.
-
-
-
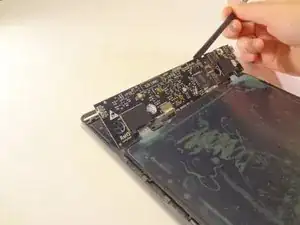
Gently lift the motherboard with a spudger or small object by inserting it in the seam between the back frame and the motherboard.
-
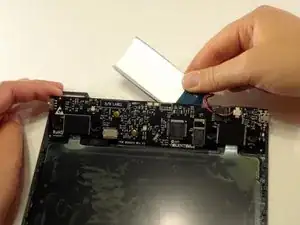
Remove the battery hidden behind the motherboard.
-
To reassemble your device, follow these instructions in reverse order.

2 Kommentare
What size battery do you use for the RIP and where do you find them to buy?
robevans -
I pulled mine, 7.4v 830ma, IIRC correctly. I found a similar RC battery, 800ma 7.4v, and bought it. But it is too thick for the casing. Unfortunately, I accidentally dropped the RIP while the front casing was off. This caused one of the linear power tabs connected to the lcd to start separating. So, if I can get it to work again, the upper right quadrant’s upper quadrant is ruined. Up until now, ended up using the RIP by taping an external battery to ($10 Walmart rechargable pack) and power the RIP with a micro usb cable. The only remaining issue, is how to repair the lcd’s damaged connector to allow it to work again. And, also, whether I can download the data to my PC using a full duplex usb communications/power cable.
Feb 14, 2022