Einleitung


-
-
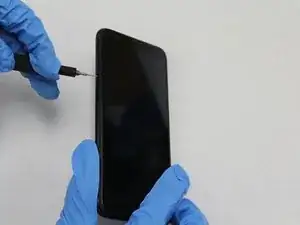
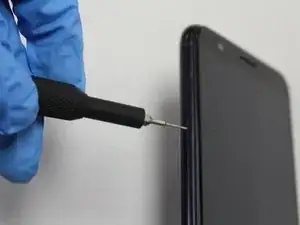
Insert a SIM card removal tool or the end of a paperclip into the small hole on the lefthand side of the phone to release the SIM card.
-
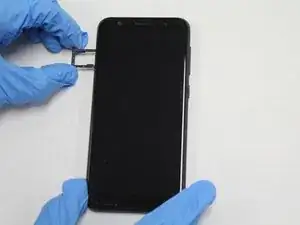
Pull out the SIM card tray.
-
-
-
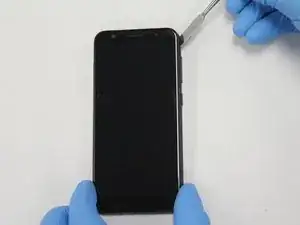
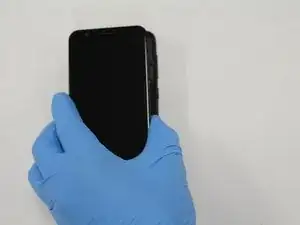
Use a plastic opening pick to pry into the crease between the back cover and the midframe of the phone.
-
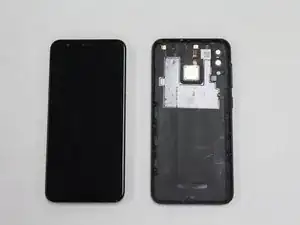
Move all the way around the phone until the back cover is separated from the rest of the phone.
-
-
-
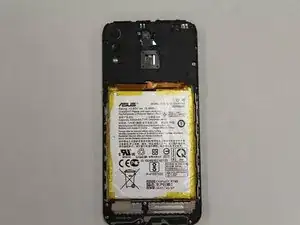
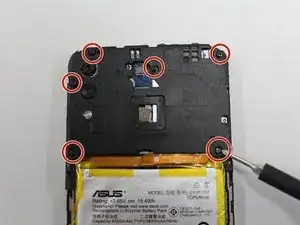
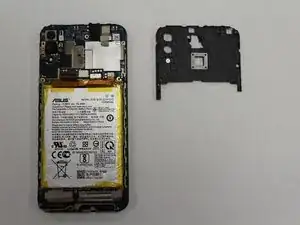
Using a Phillips #00 screwdriver, remove the six screws across the top mid frame and gently lift the top assembly piece. It should detach easily and can be set aside.
-
-
-
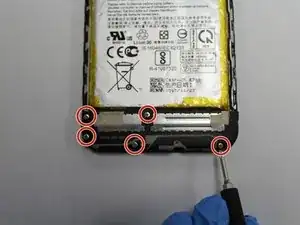
Using a Phillips #00 screwdriver, remove the five screws from the bottom midframe.
-
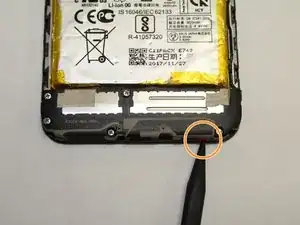
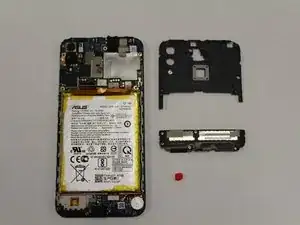
Use the pointed end of a spudger to pry off the bottom midframe using the red latch provided.
-
-
-
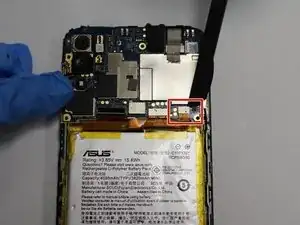
Use a halberd spudger to pry up the battery's press fit connector from the motherboard.
-
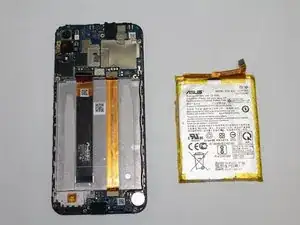
Gently pry the battery out of the case, taking care not to bend or puncture the battery.
-
-
-
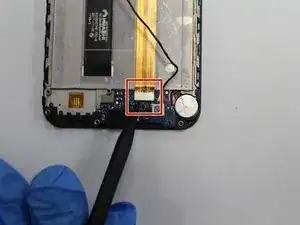
Use a spudger to pry up the interconnect cable's connection on the daughterboard at the bottom end of the phone.
-
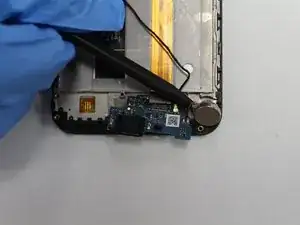
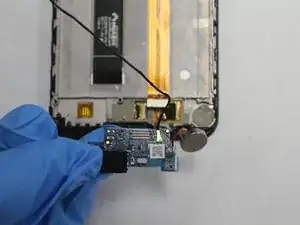
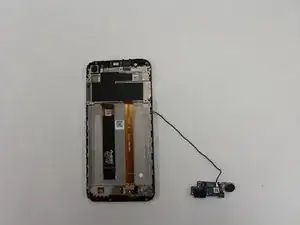
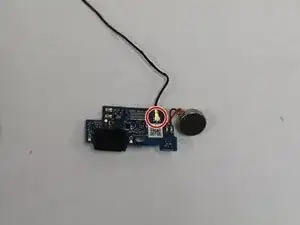
Use a spudger to pry up the daughterboard and CMOS battery.
-
Remove the daughterboard containing the charging port.
-
To reassemble your device, follow these instructions in reverse order.