Einleitung
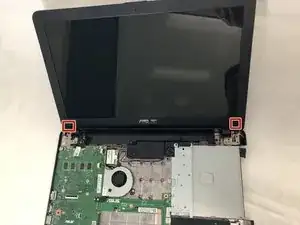
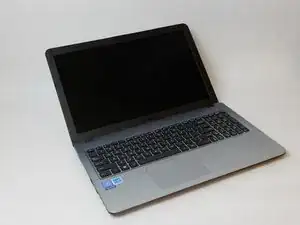
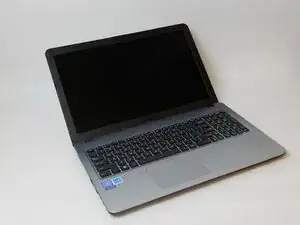
In the case of a cracked or broken display screen on your ASUS VivoBook X540SA-BPD0602V, a screen replacement may be necessary to restore the laptop to its normal functionality. This guide will walk the user through replacing the device's LCD display screen, through step-by-step instructions. All power sources, including the battery, should be removed before completing any repairs or replacements within the device.


-
-
Power down the laptop using the device's power button in top right corner of the keyboard. Ensure that the device's power cord is disconnected.
-
-
-
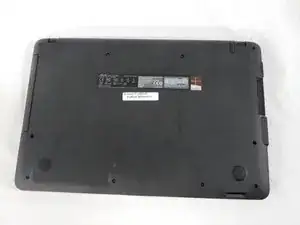
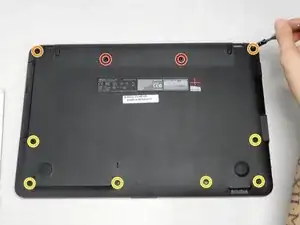
Using a Phillips #1 screwdriver, remove the ten screws from the back panel.
-
Remove the two battery screws (15.6 mm)
-
Two top corner screws (12.5 mm)
-
Six case screws (9.7mm)
-
-
-
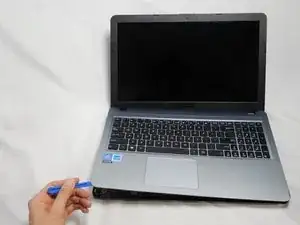
Using the blue plastic opening tool, wedge and loosen the seal all the way around the edges. Carefully lift up the keyboard panel.
-
-
-
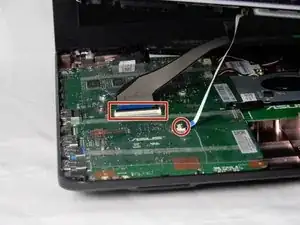
Observe where the ribbons connect to the motherboard, there are two connections. Each connection has a black clamp. To remove the ribbon, lift the black clamp up to disconnect it.
-
-
-
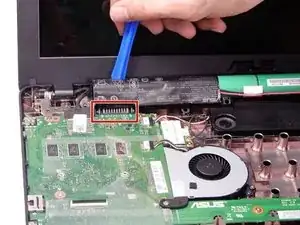
Very carefully, remove the batteries with the blue plastic iFixit opening tool. Focus removing the battery near the highlighted area.
-
-
-
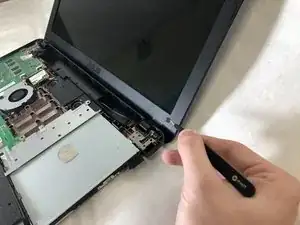
Using the Phillips #0 screwdriver, remove the screws (3.8mm) from the bottom corners of the screen.
-
-
-
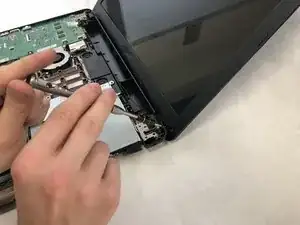
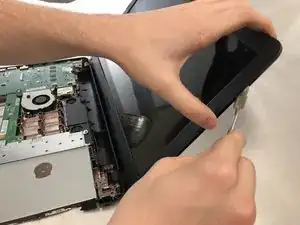
Gently go around the screen and pry the plastic frame away with the metal spudger.
-
Before disconnecting the bottom edge of the plastic frame, be sure to disconnect it from the laptop's hinges.
-
-
-
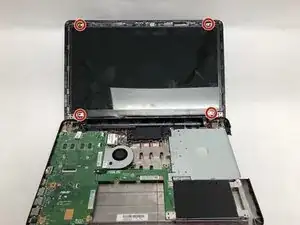
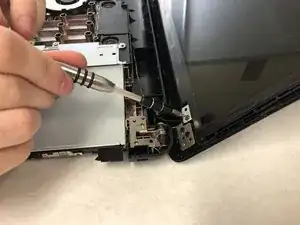
Remove screws (3.5mm) from the four corners of the screen, utilizing Phillips #0 screwdriver.
-
-
-
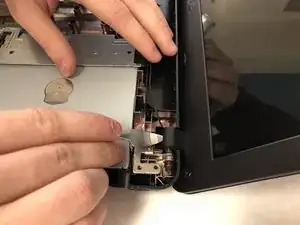
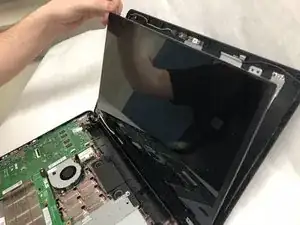
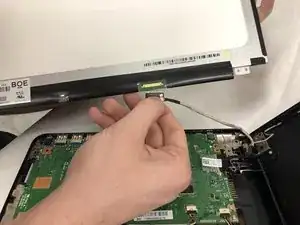
Rotate the display to expose the motherboard connection at the bottom of the display, and disconnect.
-
To reassemble your device, follow these instructions in reverse order.
