Einleitung
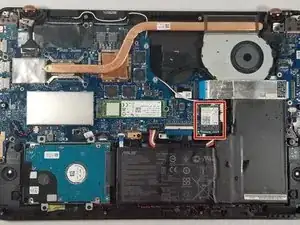
If your Asus laptop (Q534U) is having problems connecting to WiFi, then the solution may be as simple as switching out a faulty WiFi card. First, be sure to eliminate all the possible errors with the laptop. Once the problem has been narrowed down to the WiFi card, use this guide to walk you through the steps of changing the WiFi card. This fix should not take more than 20 minutes, and only requires removal of parts.
It does require removing the battery, so use caution as a punctured battery can cause a dangerous fire.


-
-
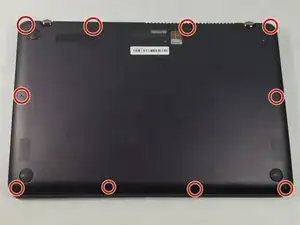
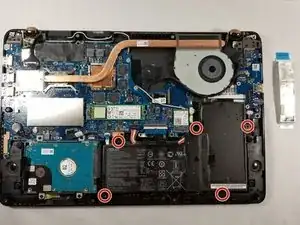
Using a T5 screwdriver, remove all 10 screws located on the underside of the laptop.
-
Pull off the back cover of the laptop.
-
-
-
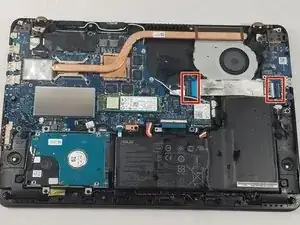
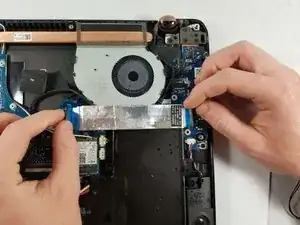
Lift up the black tab next to the silver ribbon cable.
-
Pull lightly on the blue tabs until the silver cable is free.
-
-
-
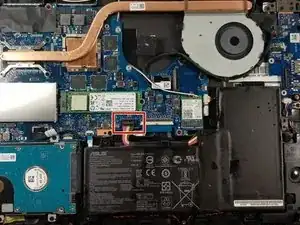
Locate the battery connector.
-
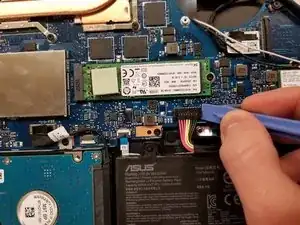
Wedge a pry tool under the battery connector.
-
Gently pull on the connector until it disconnects from the base of the object.
-
Lift the battery out of the computer.
-
-
-
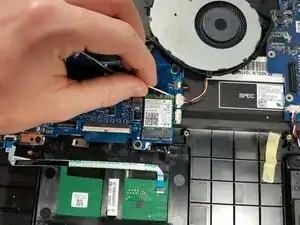
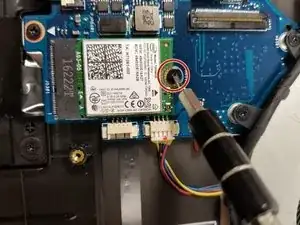
Using a Phillips #0 screwdriver, remove the screw holding the WiFi card down.
-
Pull the WiFi card out of the socket toward the fan housing.
-
To reassemble your device, follow these instructions in reverse order.
