Einleitung

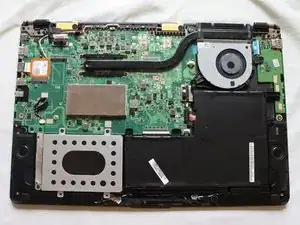
Having issues accessing the internet from your Asus Q525U laptop? This guide gives a step-by-step instruction on how to replace the Wi-Fi card from this device.

Before beginning this repair, be sure to power off your laptop and unplug from the power adapter.

  1. qFCsJY5HksiNIXxg
    qFCsJY5HksiNIXxg
    HeNCxiv3DtaOSYGh
    rp5hRbQANdbfPXZ1
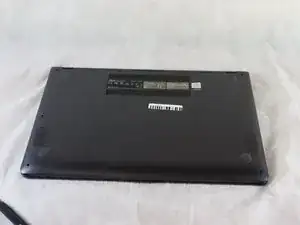
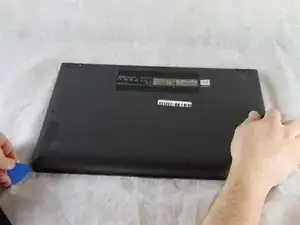
    • Begin by powering off the device and flipping the device over.

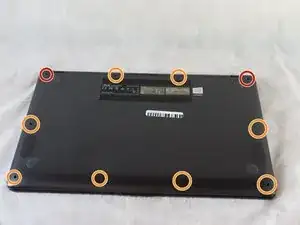
    • Carefully remove the two longer 9.5 mm screws on the corners with a Phillips #1 screwdriver.

    • Remove the eight 7.5 mm Phillips #1 screws on the back of the device.

  2. pFr5BVkB2NqONLWj
    pFr5BVkB2NqONLWj
    DWf4OYttSPD6s2eL
    G31ZsNYBjZbyNY2x
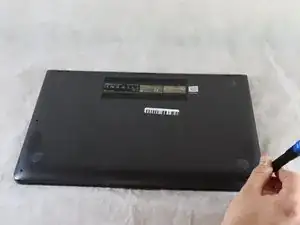
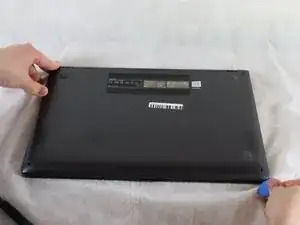
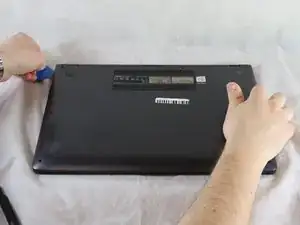
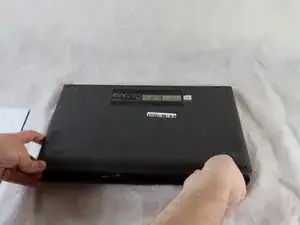
    • Use an opening pick to separate the back cover from the device.

    • For easiest removal, begin by prying at one of the front corners and sliding the tool under the cover in a counter-clockwise motion (to the left) toward the laptop hinge.

  3. QDkLCnHV1GGZMTld
    QDkLCnHV1GGZMTld
    sZex2HYDPySIFird
    Vlntap4MYQmkSZwQ
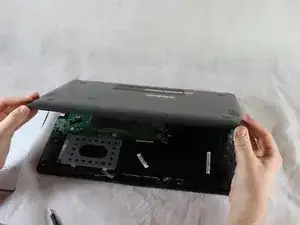
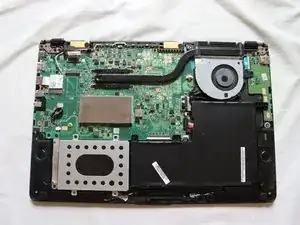
    • Once the cover has been separated from the device, carefully lift the back cover off the device (begin by lifting from the front of the cover first).

    • The back cover should be easily removable, allowing full access to all of the internal components.

  4. mqjied5iJEbr4BuN
    mqjied5iJEbr4BuN
    2uHUXRYRi2tYAuCy
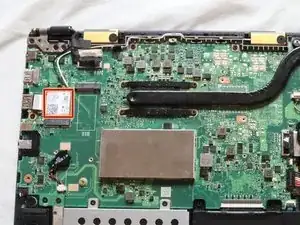
    • The Wi-Fi card is located above the CMOS coin cell battery and below one of the hinges.

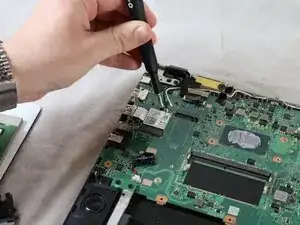
    • Using a Phillips #1 screwdriver, remove one 2 mm screw, that holds the card in place.

  5. hNoSS3yoJk4L5pdL
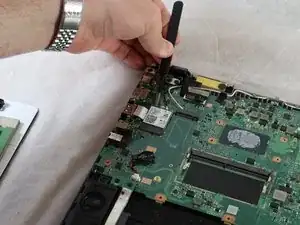
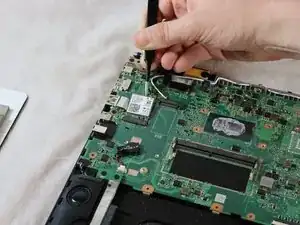
    • Use a pair of pointed tweezers to disconnect the small black and white coaxial connectors from the Wi-Fi card.

  6. QxABPDmNlgoRYTLF
    QxABPDmNlgoRYTLF
    UAPCqoM4IXINDcHD
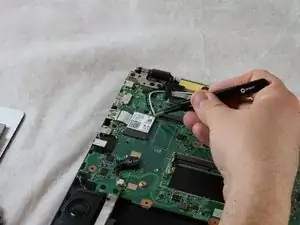
    • Use the pointed tweezers to pull the network card out and away from the socket.

Abschluss

To reassemble your device, follow these instructions in reverse order.

Stewart Crandall

Mitglied seit: 22/02/22

550 Reputation

0 Kommentare