Einleitung
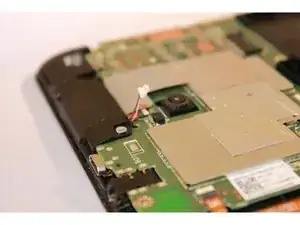
The speaker is where sound comes out. Often times, when videos or music is played too loud, the speaker can blow. This is another component that needs replaced relatively frequent.


-
-
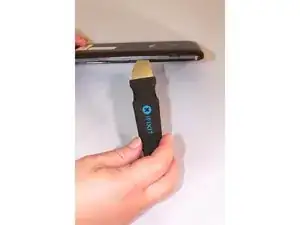
Using the Jimmy tool, gently wedge it into the seam of the device at the side.
-
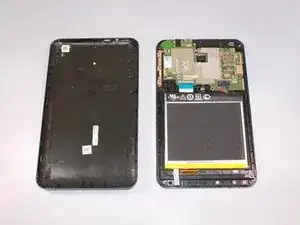
Pry the Jimmy tool gently all around the seam. Use up and down motions until the back panel is detached.
-
-
-
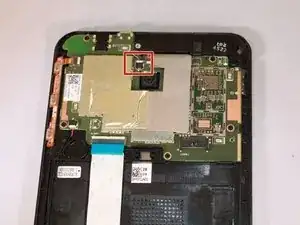
From the top of the tablet, locate the white cable connector. It is inserted in a black port on the motherboard.
-
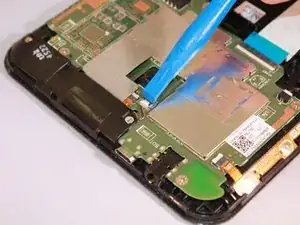
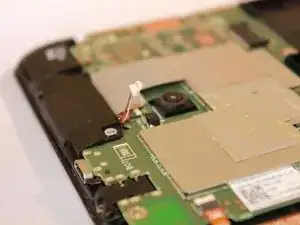
Use the blue plastic opening tool to push the white cable connector out of the port. Push the cable in a sideways motion towards the top of the device.
-
-
-
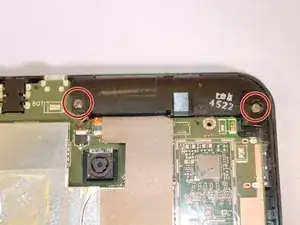
Locate the screws in the device.
-
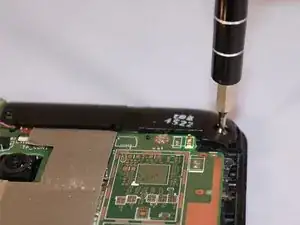
Use the PH000 Phillips head screwdriver to unscrew the seven screws. Twist in a counter clockwise motion to remove.
-
-
-
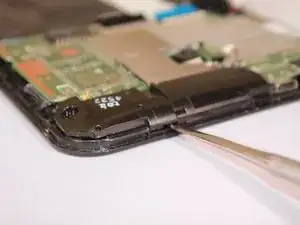
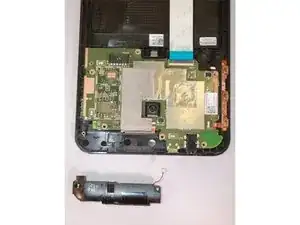
Use the slender, metal spudger tool to gently lift up the edge of the speaker to remove the device.
-
To reassemble your device, follow these instructions in reverse order.