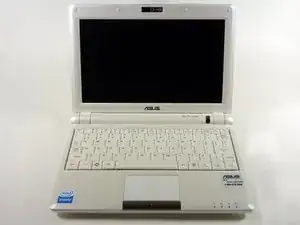
Einleitung


-
-
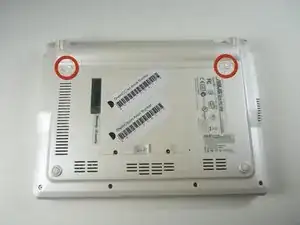
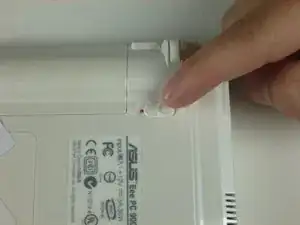
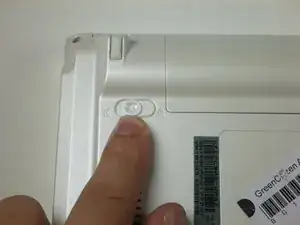
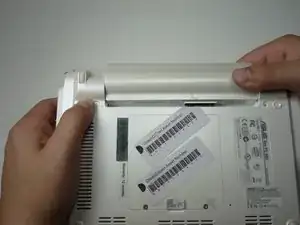
Slide the battery's locking tabs from the locked position to unlocked positions.
-
The right tab is unlocked when a red dot is showing.
-
The left tab will have to be held in the unlocked position in order to release the battery.
-
-
-
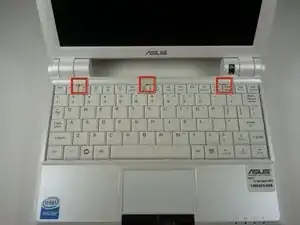
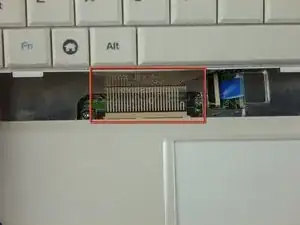
Identify the three metal tabs holding down the laptop's keyboard.
-
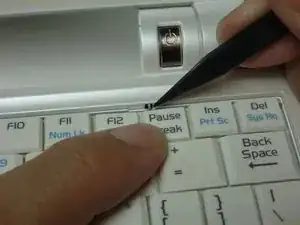
Using a spudger, depress each metal tab to remove the keyboard.
-
-
-
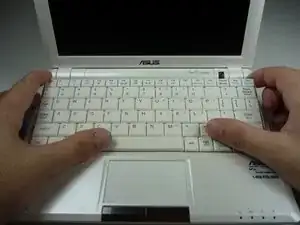
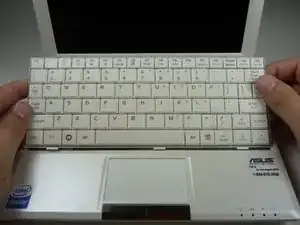
Clips hold the bottom portion of the keyboard to the laptop. Gently lift the upper portion of the keyboard and then move the entire keyboard towards the computer's screen until the ribbon cable is visible.
-
-
-
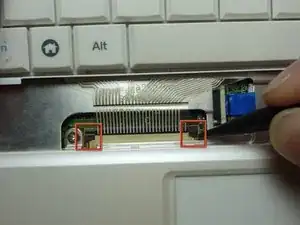
Using a spudger, gently push the two black pins holding the ribbon cable towards the computer's screen.
-
Slide the keyboard's ribbon cable from the connector.
-
-
-
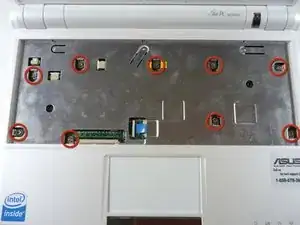
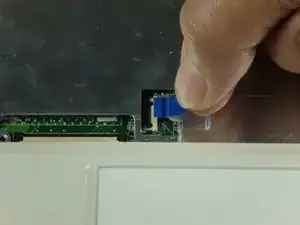
Flip the laptop back over and identify the touchpad ribbon.
-
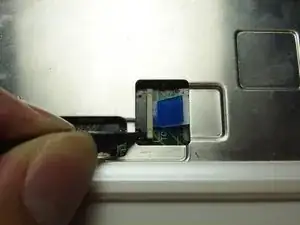
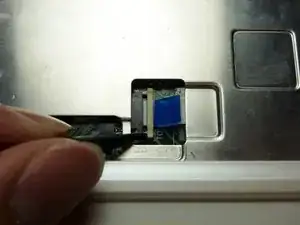
Unlock the tan locking pin from the black connector by pushing the pin to the right with a spudger.
-
-
-
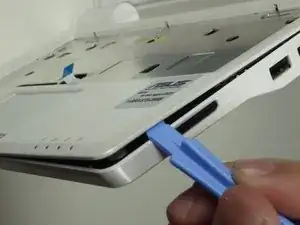
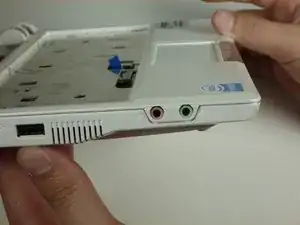
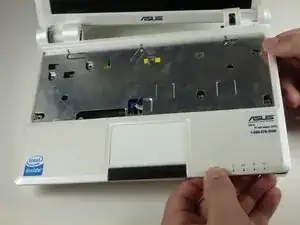
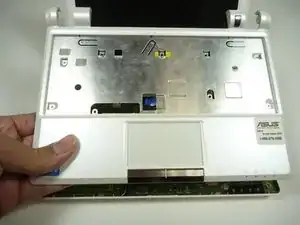
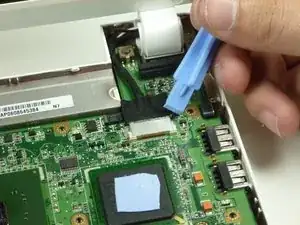
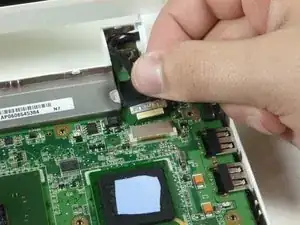
Use a plastic opening tool to gently detach the top cover from the laptop's base. See the next step for removing the cover.
-
-
-
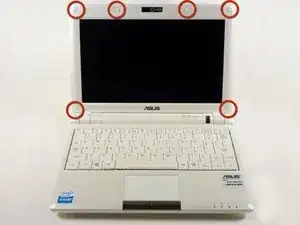
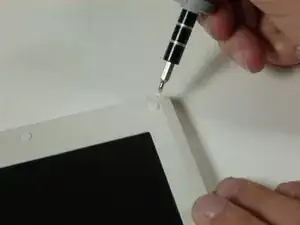
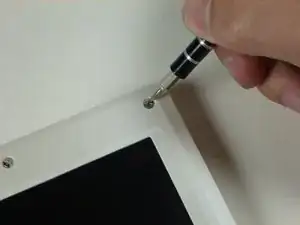
Gently pry off the six rubber covers around the outside of the screen using a two mm flat head screwdriver.
-
Remove the six 4.76 mm Phillips #0 screws underneath each cover.
-
-
-
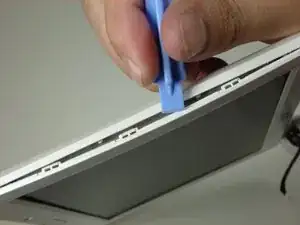
Using a plastic opening tool, carefully detach the casing around the screen cover.
-
Remove the screen cover.
-
-
-
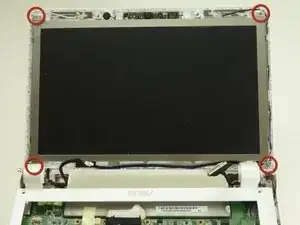
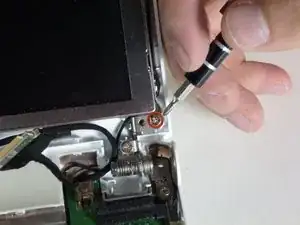
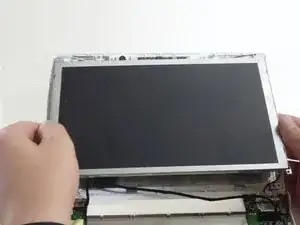
Remove the four 4.76mm Phillips #0 screws located on the corners of the screen.
-
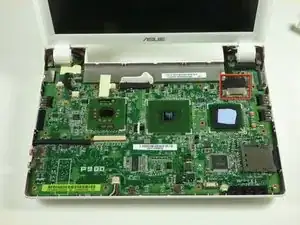
Lift out the display screen.
-
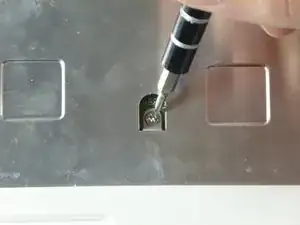
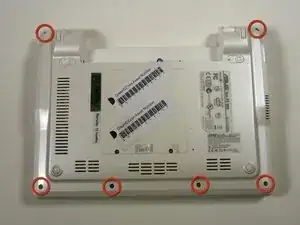
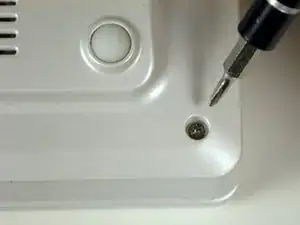
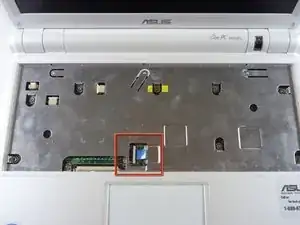
To reassemble your device, follow these instructions in reverse order.

2 Kommentare
Another PERFECT iFixIt guide!
Had to replace the screen in one of these little beauties, and this walk-through worked like all iFixIt tutorials: Flawlessly.
Kudos Mr. Barker!
WildBill -
Perfect guide, thank you.