Einleitung
Your car mirrors are essential to the safety of you and others in your car. Keeping them in good shape and undamaged is always helpful, but sometimes, life happens, and you need to replace the mirror(s). So, in this guide, I will show you how to quickly and easily change your mirror with no experience needed. A lot cheaper than going to a mechanic as well. This guide is for a Scion 2010 TC Coupe but any year below this one can also be used as well.
Werkzeuge


Ersatzteile
-
-
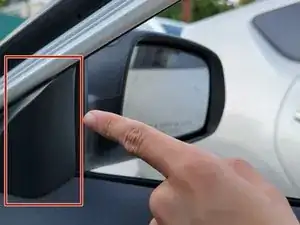
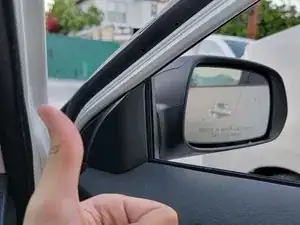
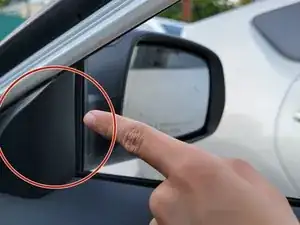
To start off, go to the side where you are going to work on and remove the protective cap at the beginning of the door (big white circle).
-
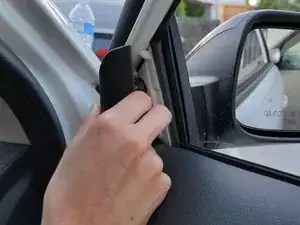
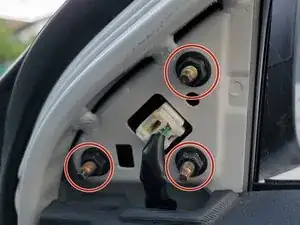
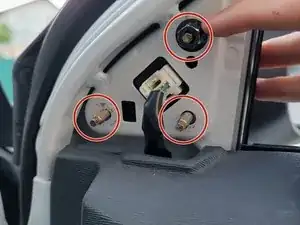
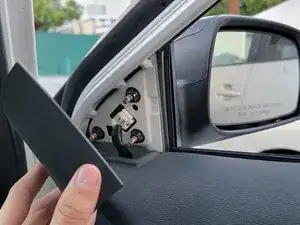
Go ahead and remove the cap (you can pry it off with your hands) and it will reveal three screws under neath (three red smaller circles)
-
-
-
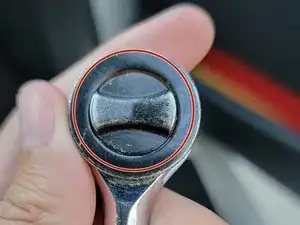
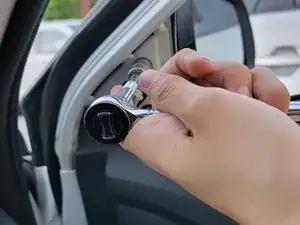
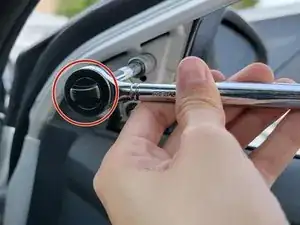
Now, grab your ratchet and attach the 10mm socket if not already done. Make sure the back of it is turned to loosen screws rather than tighten them. Each ratchet is different but they're all similar.
-
Once the ratchet is set up, go ahead and place it on one of the screws and start rotating the ratchet down then up to loosen each screw. You'll know you are doing it right if clicking noises happen when you rotate down and no noise is happening when you move up You're going to continue this motion until the screw is loose.
-
-
-
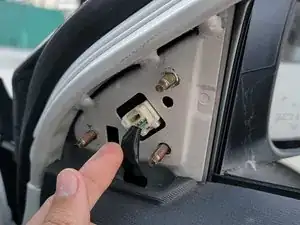
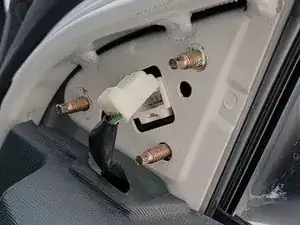
The next step is un-hooking the cable attached to the mirror. All you will need is your hands for this one.
-
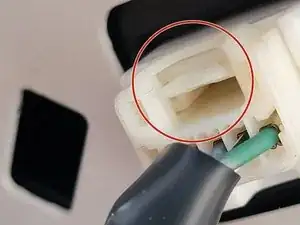
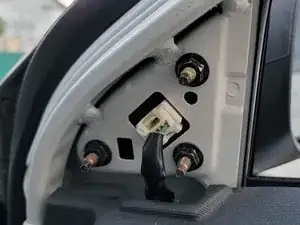
Go ahead and push down on the switch indicated by the red circle and pull on the cable at the same time to free the mirror.
-
-
-
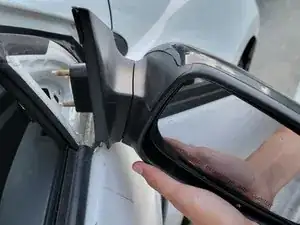
Now that your mirror is off, you can go ahead and remove it from the door and insert the new mirror you want to replace it with.
-
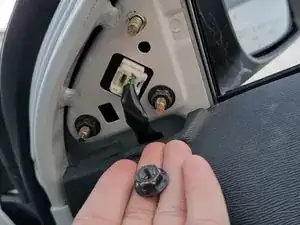
Once the new mirror is on, go ahead and attach the nuts on to each screw. You do not need to use the ratchet right now as we are just securing the mirror back on so it will not fall down.
-
-
-
Go ahead and switch your ratchet back to the tightening setting and rotate up then back down to tighten each nut.
-
Once each nut is firmly back onto the screws, give each one another twist to make sure everything is nice and tight and if you feel like anything is loose, go ahead and tighten it until it stops moving.
-
-
-
Once everything is firmly back on, you can now put back the protector cap onto its original spot.
-
You will have to line it up so it can fit in and hit it on a few times until you hear it "click" or make a loud noise, then it will be back on without no worries.
-
After that, you will now have successfully replaced your side mirror! Go ahead adjust the mirror as needed and you will be all set to drive again!
-