Einleitung

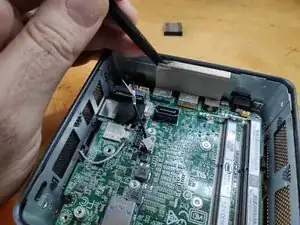
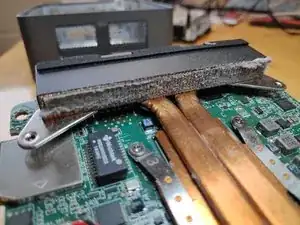
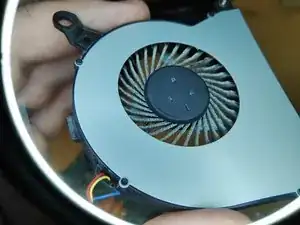
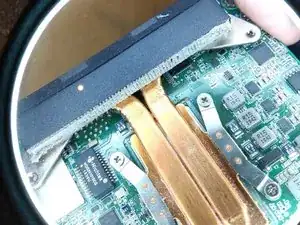
Wegen des kleinen Formfaktors des NUC ist er anfällig fürs Überhitzen aufgrund von Staubansammlung im Lüftungsschlitz des CPU-Kühlers.

  1. iLv2KjMvmsEfKi3Y
    iLv2KjMvmsEfKi3Y
    cWkGXg56xnc1GGM2
    ElVf2YnFFoXJ3ODF
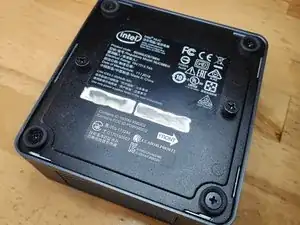
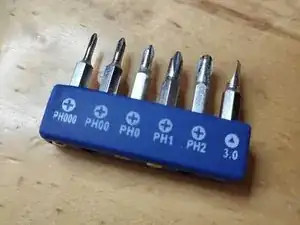
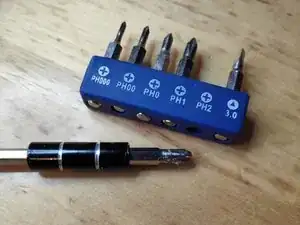
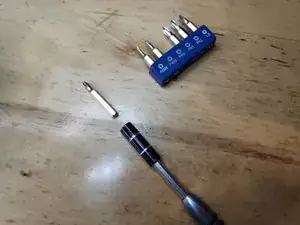
    • Stelle den NUC auf den Kopf, um die Schrauben zu sehen, und suche einen PH2 Kreuzschlitzschraubendreher/-bit heraus.

  2. 5LXcETZhgCEBFtFI
    5LXcETZhgCEBFtFI
    yhK2wBwtjDRRugrU
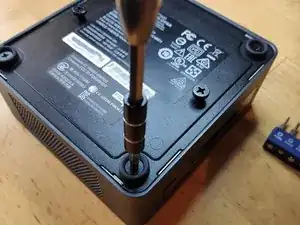
    • Lockere die unteren Schrauben an der unteren Gehäuseklappe mit einem Kreuzschlitzschraubendreher/-bit #2.

    • Die Schrauben können nicht komplett herausgenommen werden und werden daher auch nicht herausfallen, wenn du den Deckel aufklappst.

    What are the size of these case screws?

    Michael Lepore -

  3. bhndLRHUWyFtdiAA
    bhndLRHUWyFtdiAA
    QCAYcvFb6ruhUtpT
    Js5rdDRXVIdhWCDH
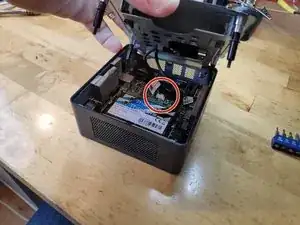
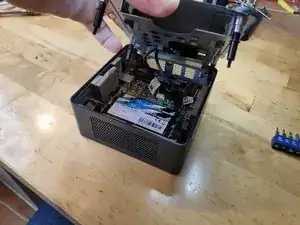
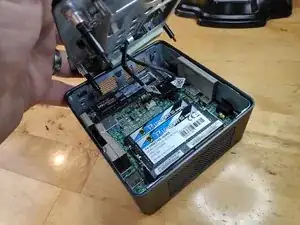
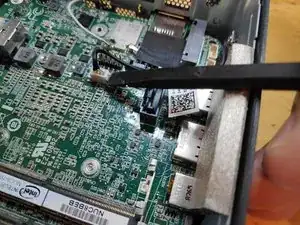
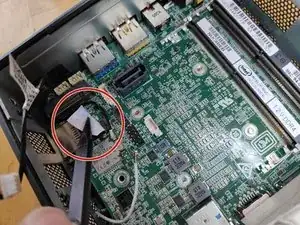
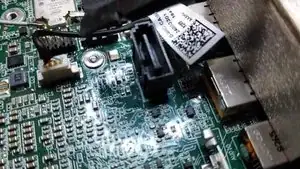
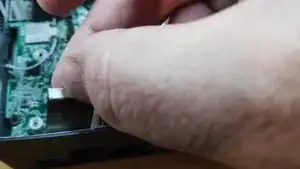
    • Hebe die Abdeckung leicht an und behalte die Kabel vom Motherboard im Auge. Diese Kabel sind für die Stromzufuhr und Dateiübertragung des 2,5" HDD Slots.

    • Trenne die Kabel vorsichtig vom Motherboard ab und lege die HDD-Halterung beiseite.

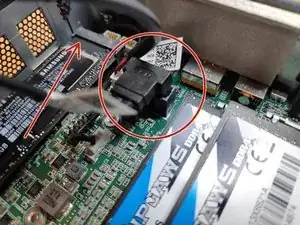
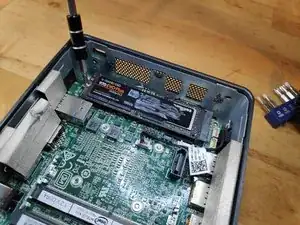
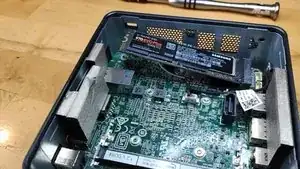
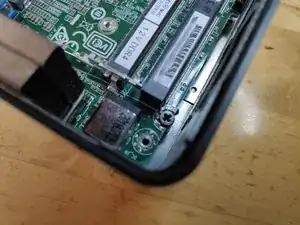
    • Auf dem letzten Bild ist der Steckplatz für eine SSD mit einem roten Pfeil markiert. Hier würdest du eine Blade-SSD einbauen und sie mit einer Schraube befestigen.

  4. YGPRvVCtYEhLU3Lt
    YGPRvVCtYEhLU3Lt
    asuqDIHLiiFmxoMX
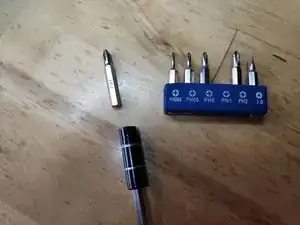
    • Wechsel zu dem PH1 Bit.

    • Schraube die V-NAND SSD ab und schiebe sie vorsichtig aus ihrem Anschluss.

  5. Vorheriger Schritt nochmal im Video.
    • Vorheriger Schritt nochmal im Video.

  6. MIpgTEX1mQENjsuu
    • Wechsel zu dem PH1 Bit.

  7. frD4VaxFk5pt4o16
    frD4VaxFk5pt4o16
    4EXFJdxOJKpMDNDC
    IwkjojFXbgxpK2GU
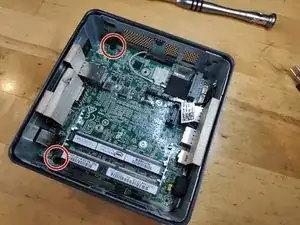
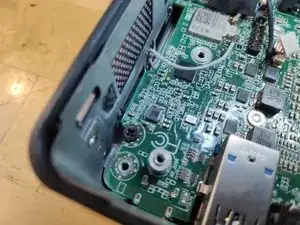
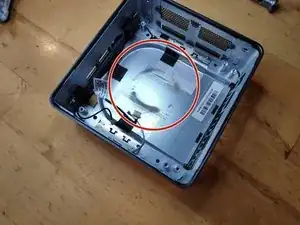
    • Entferne die auf dem Bild rot umkreisten Schrauben.

  8. bXN2KelA6UENepsV
    bXN2KelA6UENepsV
    dJAAGRBCACvZLIsX
    ejDFmgh1Q1KhFLJI
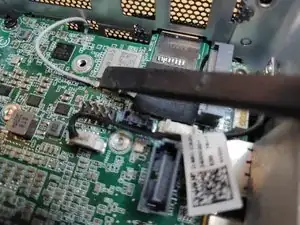
    • Entferne die WiFi- und Bluetooth-Antennenkabel. Sei dabei äußerst vorsichtig, da sonst der Anschluss vom Motherboard beschädigt werden kann.

    • Trenne das Stereo-Mikrofonkabel vom Motherboard.

    • Achte auf das WiFi-Kabel, das unter einem schwarzen Stück Klebeband versteckt ist.

    Remove WiFi an Bluetooth antenna Cable very carefully. Terminals can be ripped of easily.

    Christian Reinhold -

    very true, I’ll add it to the guide

    Vladimir Knobel -

    Added to the step in the guide, thanks for pointing that out!

    Vladimir Knobel -

  9. Trenne das Mikrofonkabel ab.
    • Trenne das Mikrofonkabel ab.

  10. Entferne die Schutzpolster von den Seiten.
    • Entferne die Schutzpolster von den Seiten.

  11. iieAfEfVcF1664xQ
    iieAfEfVcF1664xQ
    canT2xLG6FaTCVcD
    • Nicht alle Polster sind zwingend notwendig, nur die beiden Polster auf dem letzten Bild sind wichtig.

  12. tOgKIPOLBLUM3Q23
    tOgKIPOLBLUM3Q23
    J6onfbukKHgZMbNn
    pHZ6AT6LBiErPDil
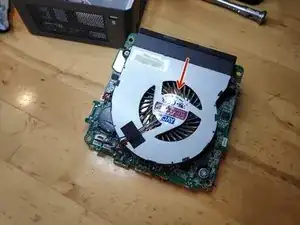
    • Heble das Motherboard mit einem geeigneten Tool (Plastik) aus dem Gehäuse.

    • Rot eingekreist sind die Anzeichen von Staub, die sofort zu sehen sind.

    Amazing! Could replace the fan. Have also removed the 4 screws of the heatsink , and renewed the thermal paste underneath it. That was necessary. It was dried out. THANKS!! It works like new: no overheating anymore. A lot faster.

    lutgart.schreyen -

    The key for getting the motherboard is to move apart very firmly the two opposite sides of the metal casing, so as to let the connectors move down.

    Jan Drouaud -

  13. b2loOl4pHWk2AWEI
    b2loOl4pHWk2AWEI
    lSEN6rDxlTGZTArG
    gIus2WZ1LXyrfyvF
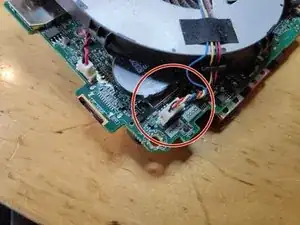
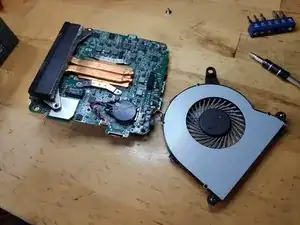
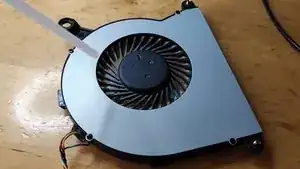
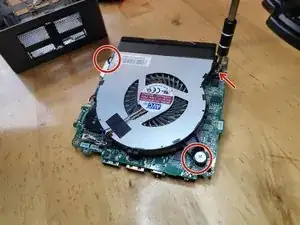
    • Entferne die drei Schrauben, mit denen der CPU-Lüfter befestigt ist.

    • Zieh den Stromstecker des Lüfters vom Motherboard.

  14. XX4cfJEPUri4g1Nu
    XX4cfJEPUri4g1Nu
    jbQCYWbHtPxfZbGd
    TwgYhyw4wmajCiEU
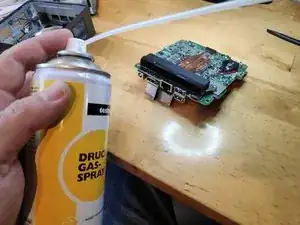
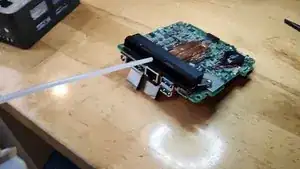
    • Um den Staub zu entfernen, benötigst du Druckluft, einen kleinen Staubsauger oder etwas Ähnliches.

  15. yZHBjqwRcOdprTGR
    • Ich nutze hierfür Druckluftspray aus der Dose (optional).

  16. Hier ein Video des Vorgangs.
    • Hier ein Video des Vorgangs.

  17. Weiteres Video des Auspustens.
    • Weiteres Video des Auspustens.

  18. 2GVOetl3MgYykCBb
    2GVOetl3MgYykCBb
    mQ3lCLr1ICfsKHOx
    • Wahrscheinlich ist dieser Schritt nicht unbedingt notwendig, aber der Vollständigkeit halber:

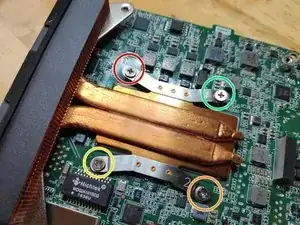
    • Entferne die Schrauben, mit denen der CPU-Kühler befestigt ist, in der Reihenfolge der darauf geprägten Nummern.

  19. Z4oypypSsIKp6exn
    Z4oypypSsIKp6exn
    4T1XAY1UhB4tZpGu
    AHniYsTgCGKTJSpM
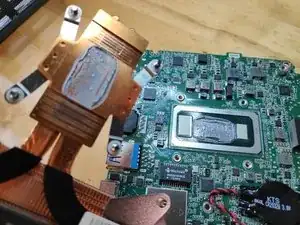
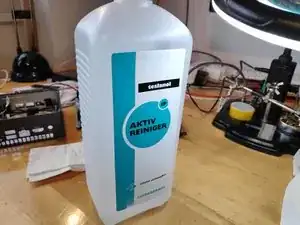
    • Nimm Isopropylalkohol für den nächsten Schritt und achte darauf, damit nicht an die Wärmefallen (Thermal Pads) der umliegenden Elemente auf der Platine zu kommen.

  20. LXvg5FSF56PwaKRj
    • Pass auf, dass du nicht zu viel nimmst.

Abschluss

Um dein Gerät wieder zusammenzubauen, folge der Anleitung in umgekehrter Reihenfolge.

Vladimir Knobel

Mitglied seit: 27/03/14

1532 Reputation

18 Kommentare

Very helpful, thank you!

Ray Wang -

Great tutorial, thanks, now my fan is very clean and quiet. Thanks for spending time to create this guide!

Schüszterl Ferenc -

I did see this guide after finding out the same steps myself and having seen this guide before doing so would be very helpful.

Jack Graus -

Great tutorial. Clear pictures, solid instructions. Thanks a lot!

Koen Veys -

you are welcome

Vladimir Knobel -

Thank you. Awesome video! How often do NUC's get heating issues from average use? Is this also Intel's troubleshooting method, or would they ship a replacement NUC?

UTuberoni -

Thank you very much! This seems to be problem with NUCs because the first one I had was replaced under warranty after the fan quit but glad I was able to clean this to hopefully keep it running longer.

Patrick McNamara -

Glad it helped!

Vladimir Knobel -

Just what I needed and couldn’t find elsewhere! Thank you.

Nikolay Cholakov -

Great guide. Super useful, A+

Brad Thelad -

Hello,

Thank you very much for this tutorial.

What is the thickness of thermal pad?

L B -

Hi @L+B I don’t know which one you mean but I’m afraid I don’t possess that information.

Vladimir Knobel -

I own the same model as yours (8i7BEH).

I have bought thermal paste for CPU but not yet the thermal pads (for eDRAM and PCH) and was wondering what to buy before disassembling my unit :-)

L B -

Incredibly helpful, thank you! My NUC started blowing like a jet engine and thermal throttling and I realized it was hitting 100C temps. Followed this guide and found my heatsink / fan slots were completely blocked with fine dust - no hair or dust bunnies, but just plugged completely. Blew it out and am back down to 75C at max (transcoding) usage.

Answering two questions above:

- antenna connectors pull straight out from the motherboard. A pair of tweezers is a good tool for this.

- thermal pads are 1mm. came up as 0.7 on my calipers so assuming slightly compressed.
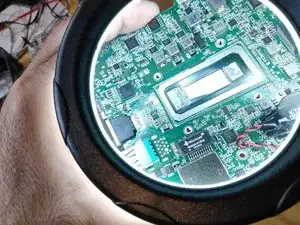
My personal mistake - if you find any of the screws connecting the outer case to the unit won’t screw down, check where you put the screws connecting the motherboard to the base. I had accidentally put a motherboard screw into a case screw hole and then couldn’t screw in that case screw until I moved the motherboard screw.
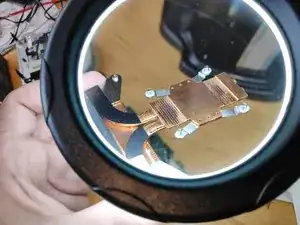
Taking photos as you go is a good idea!

solstyce9 -
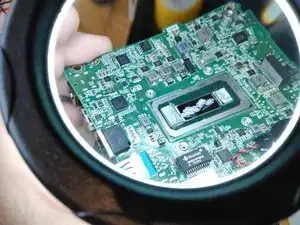
Awesome guide. Helped me a lot!

trajche.manev -

Can you measure the distance betwen the holes that hold the cooling radiator ? I’m planning on upgrading it with a regular CPU cooler. Thanks !

Lucian Pop -

Great, thx! Works for Intel NUC8BEB / Wortmann Terra PC-Micro Sielent 6000 almost identical. After disassembling the unit, I applied a little WD40 to the noisy fan. Did the trick!

Tobias Baumhauer -

Thank you so much. I was able to strip the fan out and blew it out with my compressor. It still made a noise when I moved it with my finger (like it was almost off-center) sprayed a bit of WD-40 into it and more air. It is quiet (for now).

But, thank you very much again

regards

Aubrey (aka cyber7, Cape Town, South Africa)

Aubrey Kloppers -